(Add New Disk to BackTrack: Lesson 1)
{ Add New Disk, Create Partition Table and Filesystem }
| Section 0. Background Information |
- Adding a new disk to a Backtrack 5 R1 VMware
Instance
- In this lab, you will learn how to do the
following:
- Add a new disk
- Create a partition table for the new disk
- Create an ext3 filesystem on the new disk
- This new disk will be added for Forensic Labs.
- In this lab, you will learn how to do the
following:
| Section 1. Configure BackTrack Network Adapter Virtual Machine Settings |
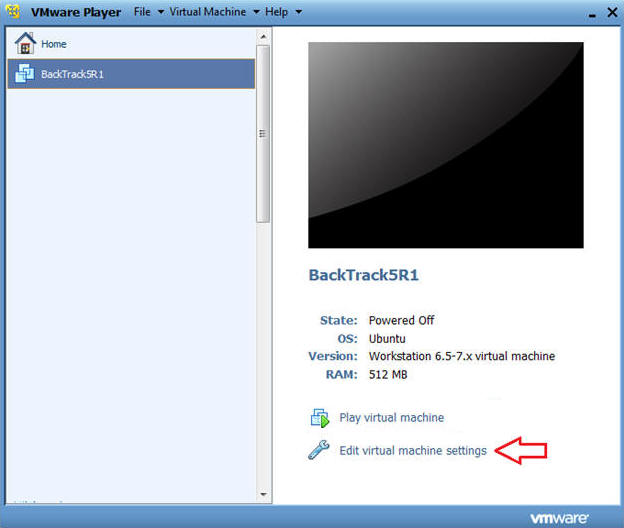
- Open Your VMware Player
- Instructions:
- On Your Host Computer, Go To
- Start --> All Program --> VMWare --> VMWare Player
- Instructions:
- Edit BackTrack Virtual Machine Settings
- Instructions:
- Highlight BackTrack5R1
- Click Edit virtual machine settings
- Instructions:
- Edit Network Adapter
- Instructions:
- Highlight Network Adapter
- Select Bridged
- Do NOT Click on the OK Button.

| Section 2. Add Hard Drive to BackTrack Virtual Machine |
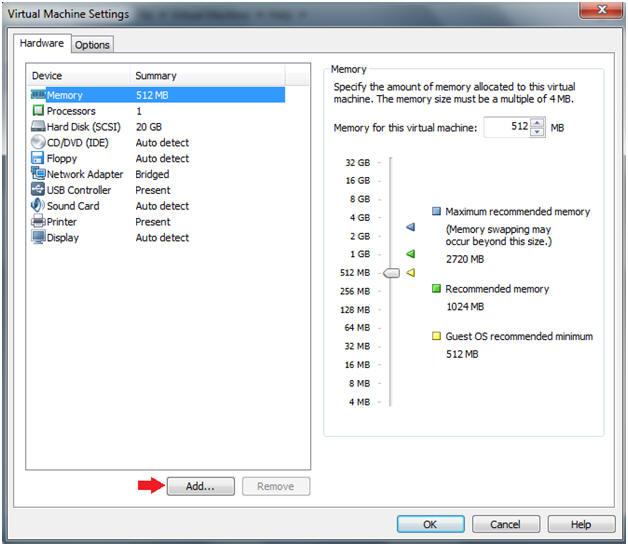
- Add Device
- Instructions:
- Click on the Add.. Button
- Instructions:
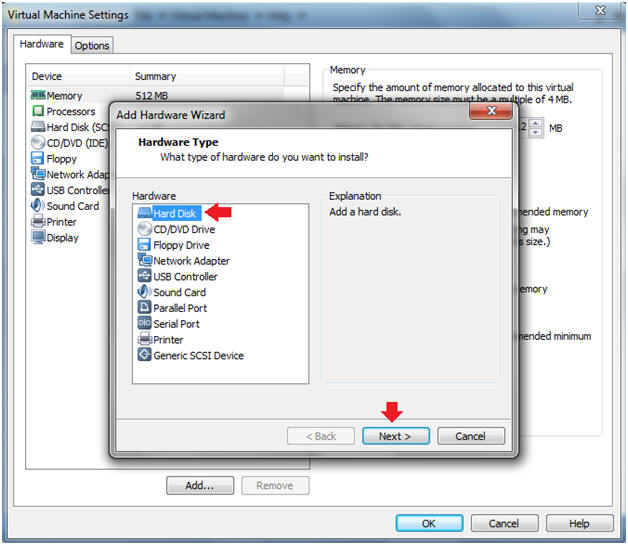
- Add Hard Disk
- Instructions:
- Click on Hard Disk
- Click Next
- Instructions:
- Select a Disk
- Instructions:
- Select "Create a new virtual disk"
- Click Next
- Instructions:
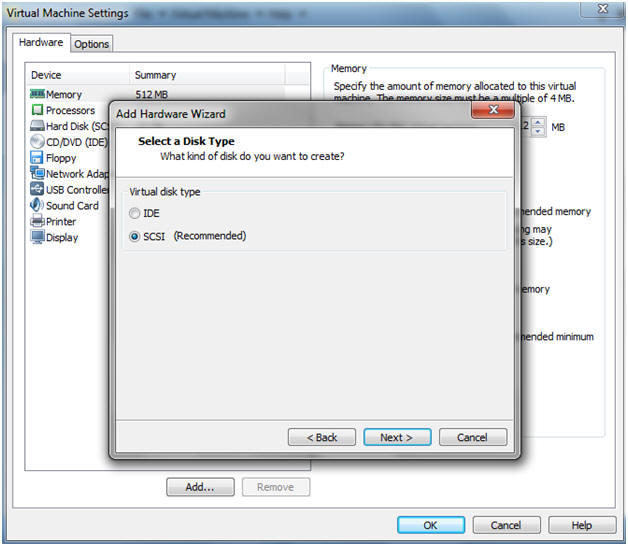
- Select Virtual disk type
- Instructions:
- Select SCSI (Recommended)
- Instructions:
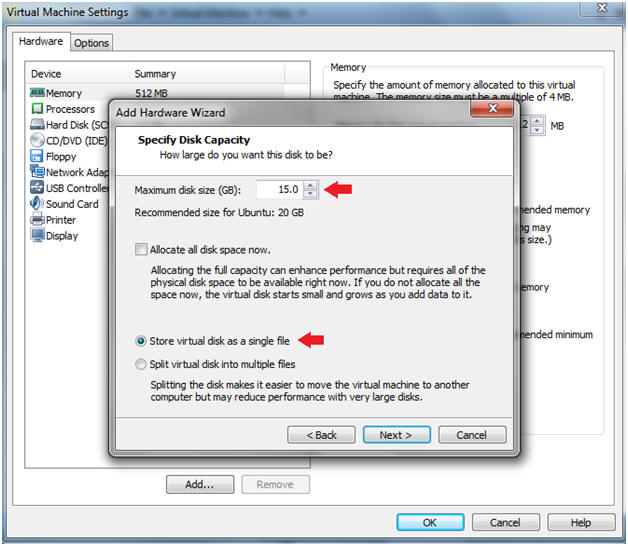
- Specify Disk Capacity
- Instructions:
- Maximum disk size (GB): 15.0
- Select "Store virtual disk as a single file"
- Click Next
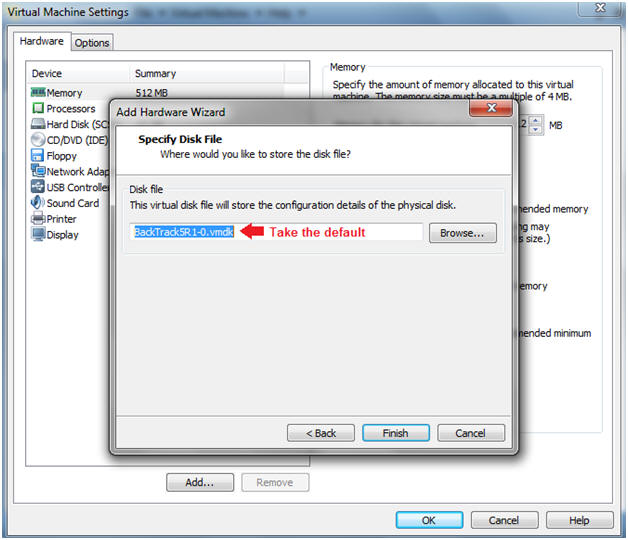
- Instructions:
- Name Disk File
- Instructions:
- Take the default name
- Click Finish
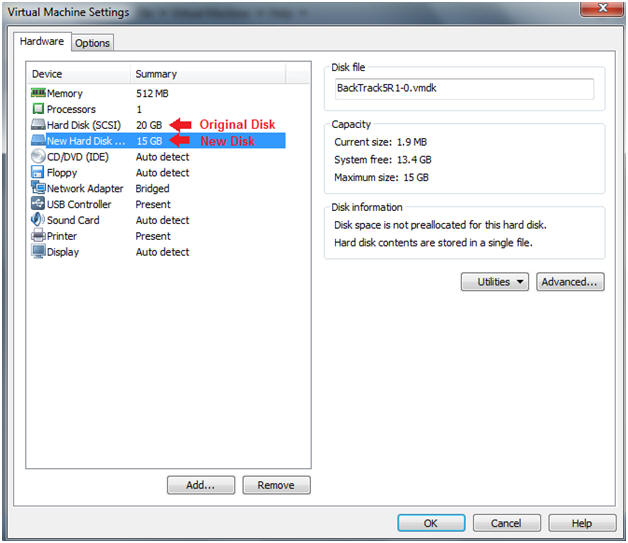
- Instructions:
- View Results
- Notes:
- You should see two disk, the original disk and the New Hard Disk.
- Instructions
- Click OK.
- Notes:

| Section 3. Login to BackTrack |
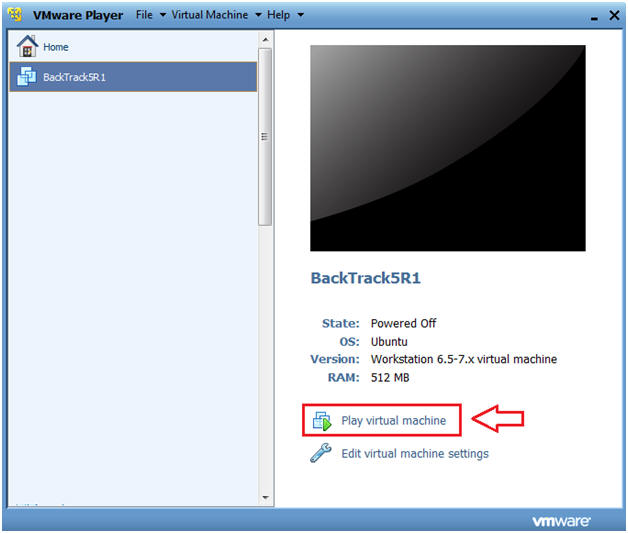
- Start BackTrack VM Instance
- Instructions:
- Start Up VMWare Player
- Select BackTrack5R1
- Play virtual machine
- Instructions:
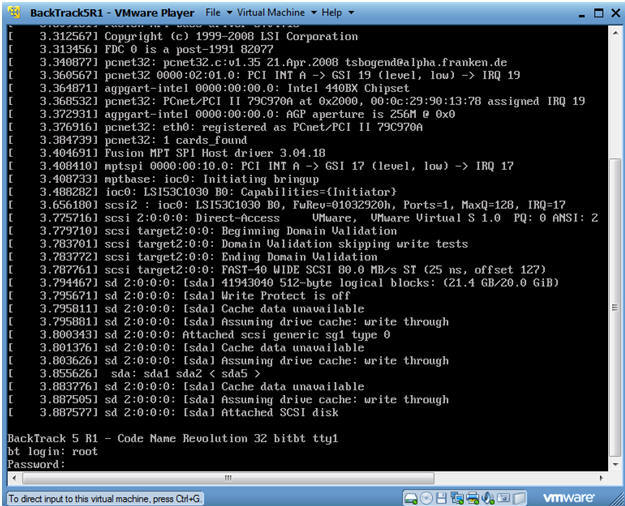
- Login to BackTrack
- Instructions:
- Login: root
- Password: toor or <whatever you changed it to>.
-
- Instructions:
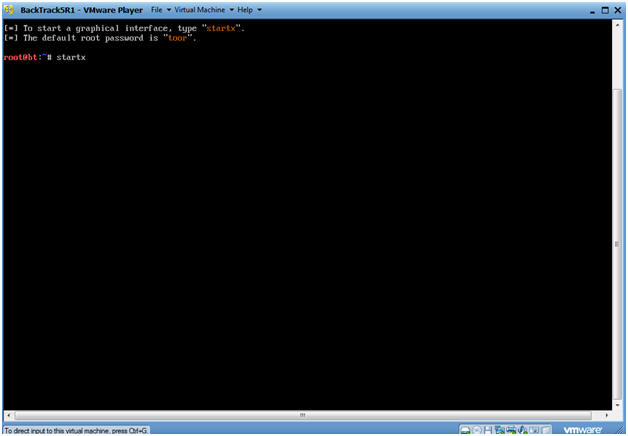
- Bring up the GNOME
- Instructions:
- Type startx
-
- Instructions:
| Section 4. Create New Disk Partition Table |
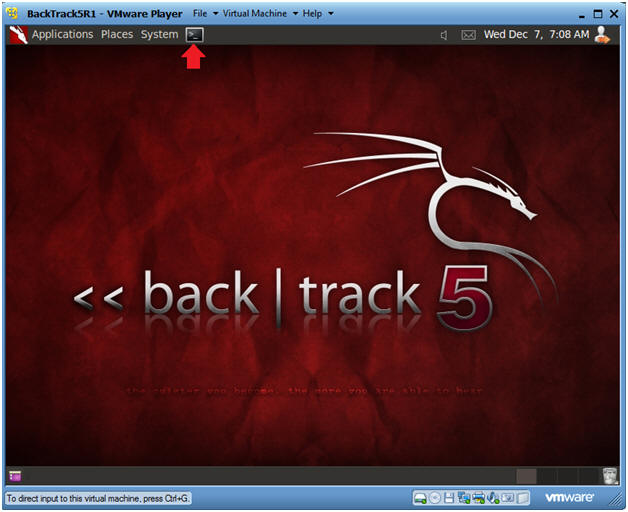
- Open a console terminal
- Instructions:
- Click on the console terminal
- Instructions:
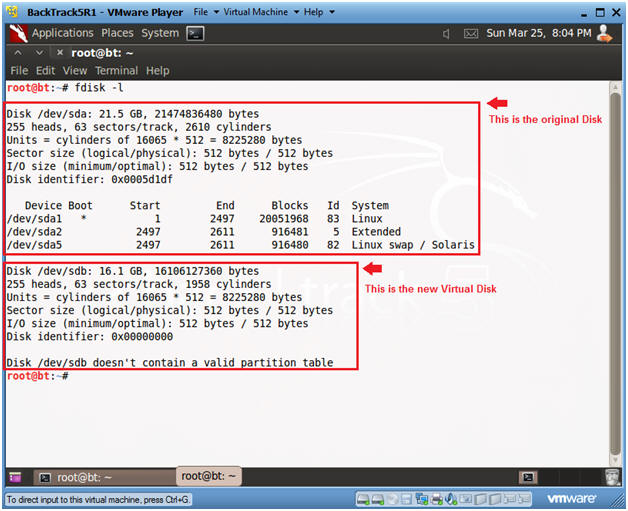
- View Hard Disks
- Instructions:
- fdisk -l
- Notes:
- You should see the following two disk
names:
- /dev/sda: 21.5 GB
- This is the original disk.
- Notice there is a partition table
- /dev/sdb: 16.1 GB
- This is the new disk.
- It contains 1958 cylinders.
- Notice that /dev/sdb does not have a valid partition table.
- /dev/sda: 21.5 GB
- You should see the following two disk
names:
- Instructions:
- Partition the New Disk
- Instructions:
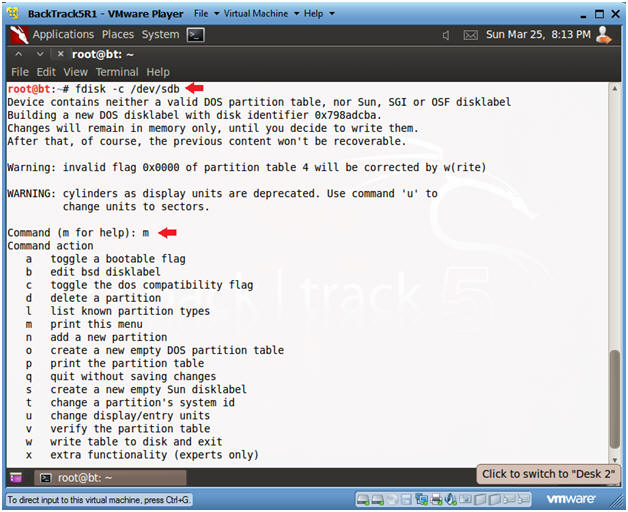
- fdisk -c /dev/sdb
- Select m
- Instructions:
- Partition the New Disk
- Instructions:
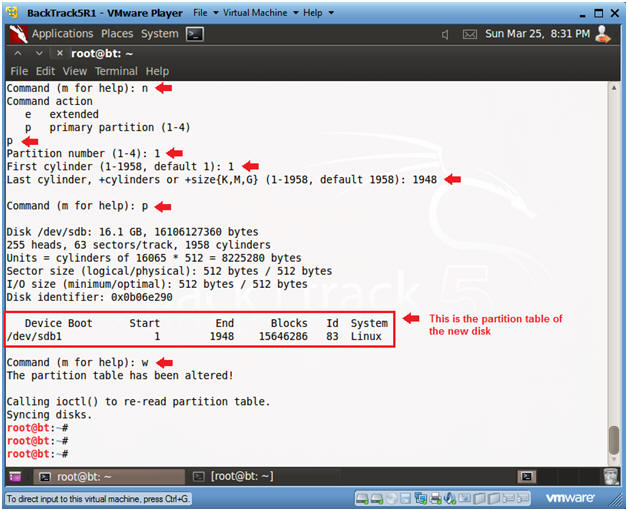
- n
- Add New Disk
- p
- Make Primary Partition
- 1
- "1" is the partition number for disk /dev/sdb.
- 1
- "1" is the first cylinder of the disk.
- 1958
- "1958" is the last cylinder of the disk.
- p
- Print the partition table.
- w
- Write the table to disk and exit
- n
- Instructions:
| Section 5. Create a new file system |
- Create a new filesystem
- Instructions:
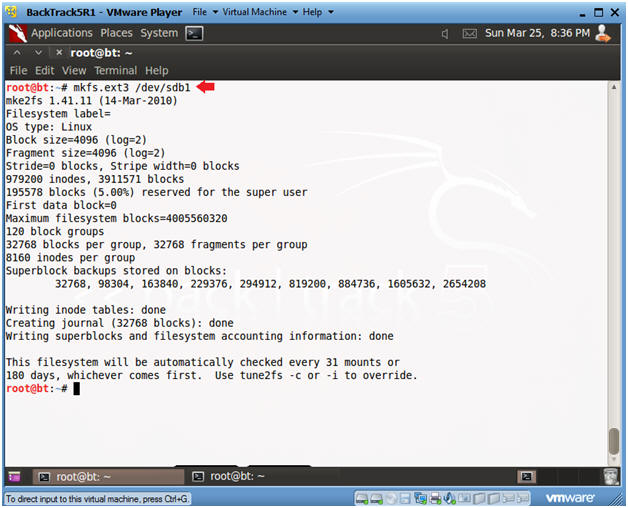
- mkfs.ext3 /dev/sdb1
- Create an ext2/ext3/ext4 filesystem
- mkfs.ext3 /dev/sdb1
- Instructions:
- Mount the new filesystem
- Instructions:
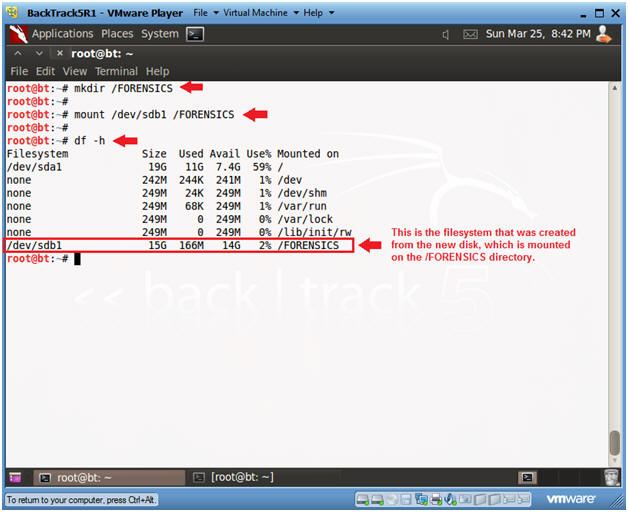
- mkdir /FORENSICS
- mount /dev/sdb1 /FORENSICS
- df -h
- Instructions:
| Section 6. Add New Filesystem to /etc/fstab |
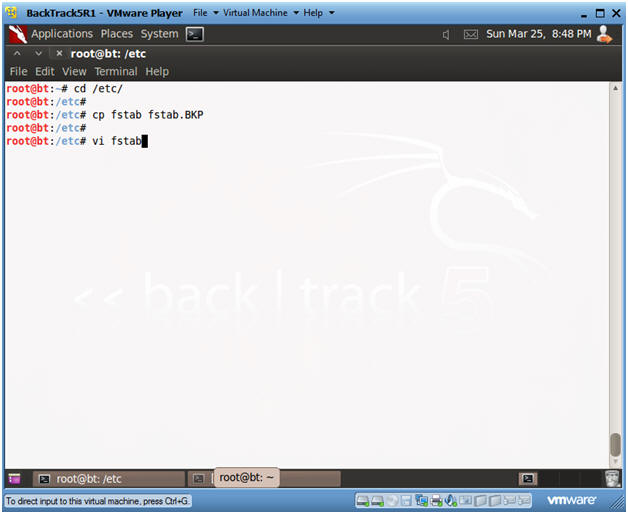
- Edit the /etc/fstab
- Instructions:
- cd /etc/
- cp fstab fstab.BKP
- vi fstab
-
- Instructions:
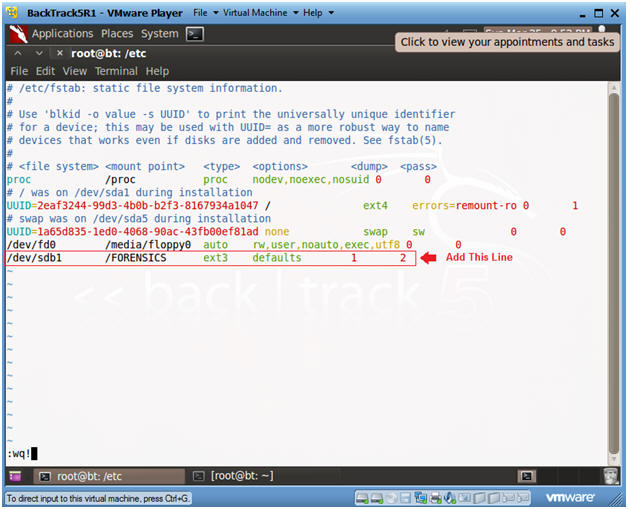
- Add line to /etc/fstab
- Instructions:
- Press <Shift> and g
- This will put your cursor on the last line of the file.
- Press o
- This will create a new line under last line in insert mode.
- /dev/sdb1 /FORENSICS ext3 defaults 1 2
- <Esc>
- :wq!
- Press <Shift> and g
- Instructions:
| Section 7. Proof of Lab |
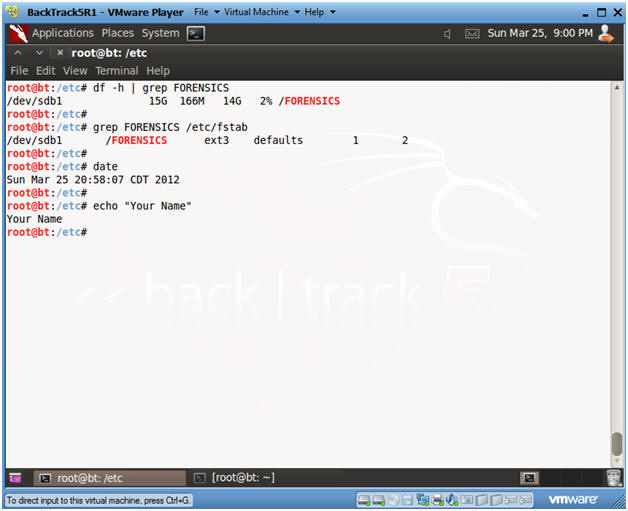
- Proof of Lab
- Instructions:
- df -h | grep FORENSICS
- grep FORENSICS /etc/fstab
- date
- echo "Your Name"
- Replace the string "Your Name" with your actual name.
- i.e., echo "John Gray"
-
Proof of Lab Instructions:
- Do PrtScn (See Below)
- Paste into a word document
- Submit to Moodle.
-
- Instructions: