(Volatility: Lesson 3)
{ Analyzing A Metasploit Memory Capture from Windows XP SP2 }
| Section 0. Background Information |
- Volatility Overview
- https://www.volatilesystems.com/
- The Volatility Framework is a completely open collection of tools, implemented in Python under the GNU General Public License, for the extraction of digital artifacts from volatile memory (RAM) samples. The extraction techniques are performed completely independent of the system being investigated but offer unprecedented visibility into the runtime state of the system. The framework is intended to introduce people to the techniques and complexities associated with extracting digital artifacts from volatile memory samples and provide a platform for further work into this exciting area of research.
- Prerequisite Labs
- Install Volatility Framework 2.0 on BackTrack5 Lab
- Helix: Lesson 5: Dump Window's Physical Memory During Metasploit Session
| Section 1. Login to BackTrack |
- Start BackTrack VM Instance
- Instructions:
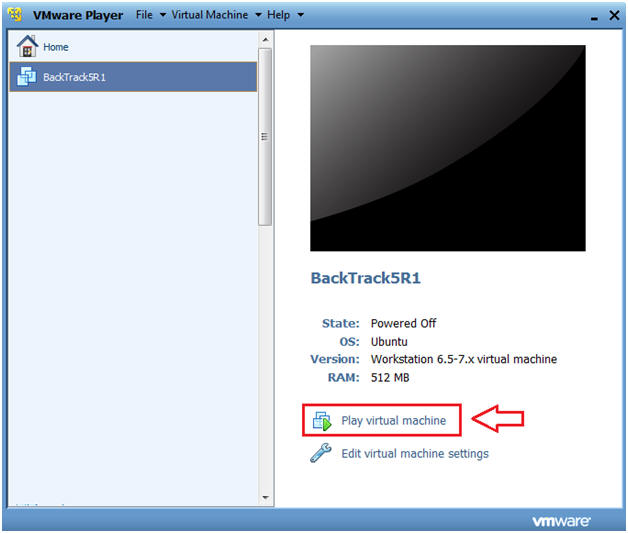
- Start Up VMWare Player
- Select BackTrack5R1
- Play virtual machine
- Instructions:
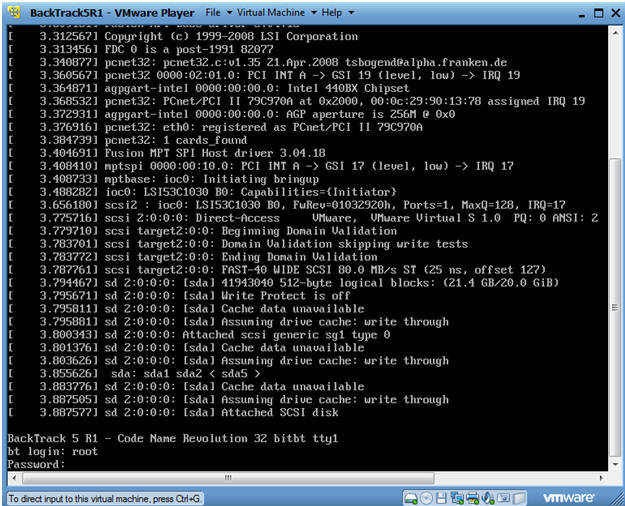
- Login to BackTrack
- Instructions:
- Login: root
- Password: toor or <whatever you changed it to>.
-
- Instructions:
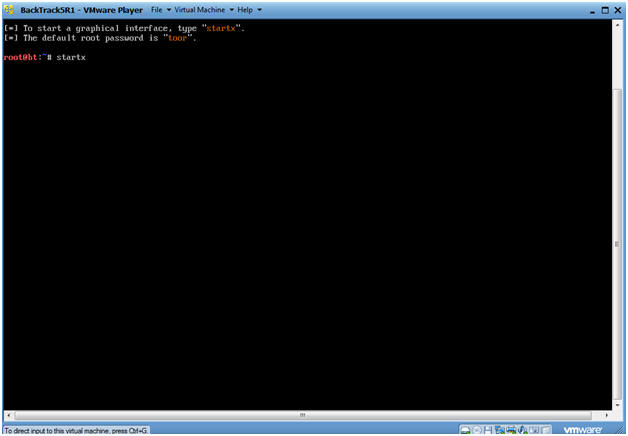
- Bring up the GNOME
- Instructions
- Type startx
-
- Instructions
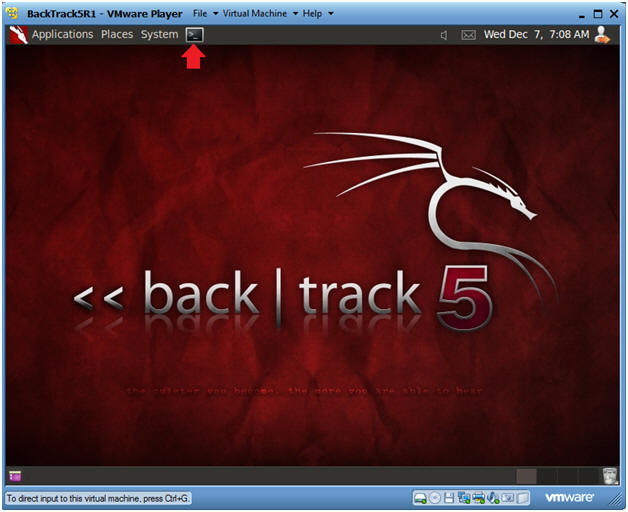
| Section 2. Bring up a console terminal |
- Bring up a console terminal
| Section 3. Using Volatility |
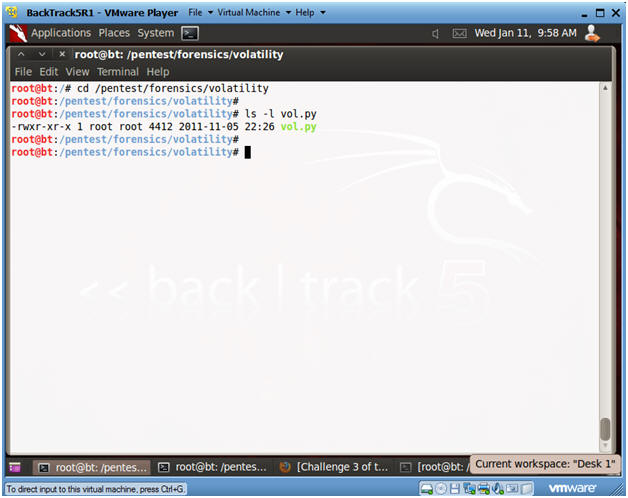
- Navigate to Volatility
- Instructions
- cd /pentest/forensics/volatility
- ls -l vol.py
- Instructions
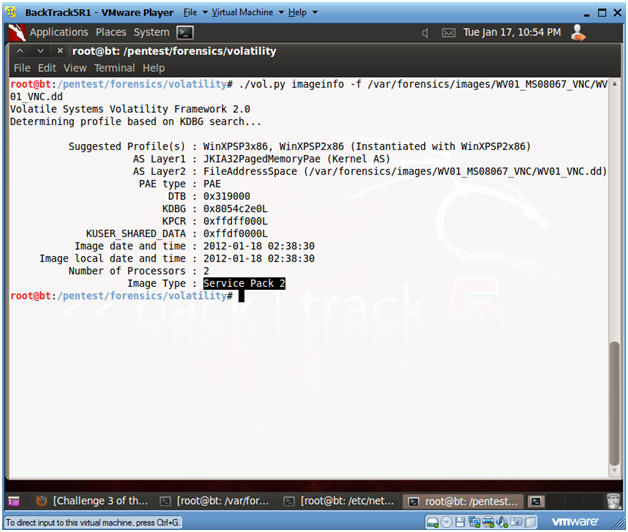
- Obtain the image profile
- Instructions :
- ./vol.py imageinfo -f /var/forensics/images/WV01_MS08067_VNC/WV01_VNC.dd
- Notes:
- The Volatility Framework tries to guess and tell you what image profile to use.
- We know that our Server is Windows XP running SP2.
- Volatility suggest that we either use the profile WinXPSP3x86 or WinXPSP2x86.
- We will use the WinXPSP2x86 profile.
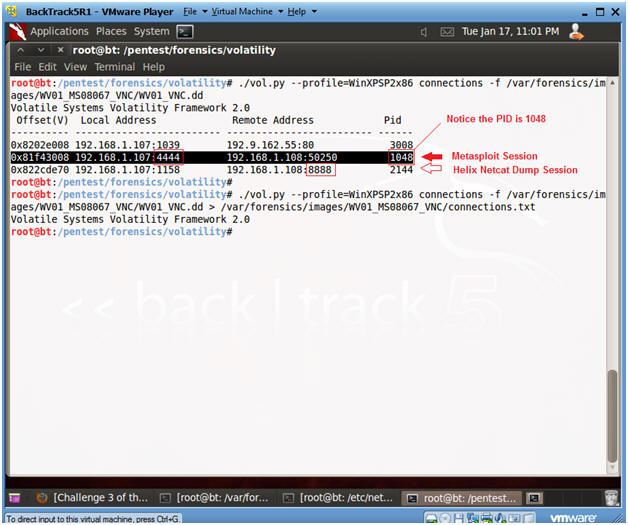
- View Open Connections
- Instructions
- ./vol.py --profile=WinXPSP2x86
connections -f
/var/forensics/images/WV01_MS08067_VNC/WV01_VNC.dd
- This command just displays output on the screen.
- ./vol.py --profile=WinXPSP2x86
connections -f /var/forensics/images/WV01_MS08067_VNC/WV01_VNC.dd
> /var/forensics/images/WV01_MS08067_VNC/connections.txt
- This command saves the output to a file called connections.txt
- Notes:
- The Metasploit Session has a process ID of 1048 and is connected to port 4444 on the Victim's machine.
- The last line is the Helix Netcat Dump, which is connected to port 8888 on the BackTrack machine.
- Record the PID of the Metasploit session for the next steps. In my case it is 1048. In your case, it will be different.
- This displays all the running process during the time we captured the image in Helix Lesson 5.
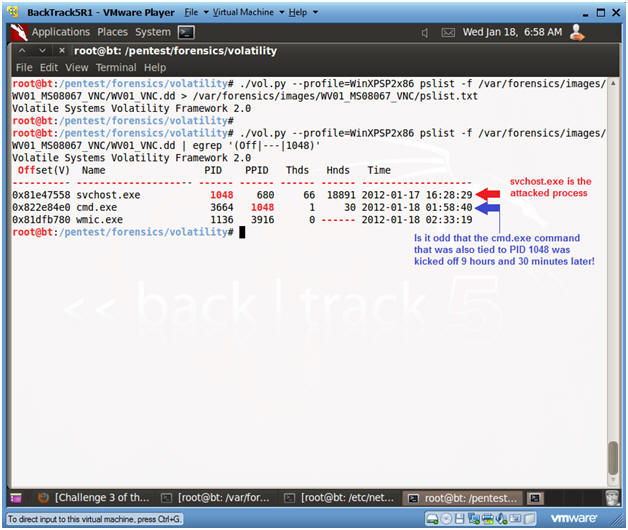
- Searching for Specific Processes
- Instructions:
- ./vol.py --profile=WinXPSP2x86
pslist -f /var/forensics/images/WV01_MS08067_VNC/WV01_VNC.dd
> /var/forensics/images/WV01_MS08067_VNC/pslist.txt
- This command saves the process list to a file.
- ./vol.py --profile=WinXPSP2x86
pslist -f /var/forensics/images/WV01_MS08067_VNC/WV01_VNC.dd
| egrep '(Off|---|1048)'
- This command will show the column header line along with the PID 1048.
- Remember 1048 was the PID associated with the Metasploit Session attached to port 4444. It will probably be different in your case.
- The svchost.exe process was attacked at 16:28 on 1-17-2012.
- ./vol.py --profile=WinXPSP2x86
pslist -f /var/forensics/images/WV01_MS08067_VNC/WV01_VNC.dd
> /var/forensics/images/WV01_MS08067_VNC/pslist.txt
- Instructions:
- View Socket Connections
- Instructions :
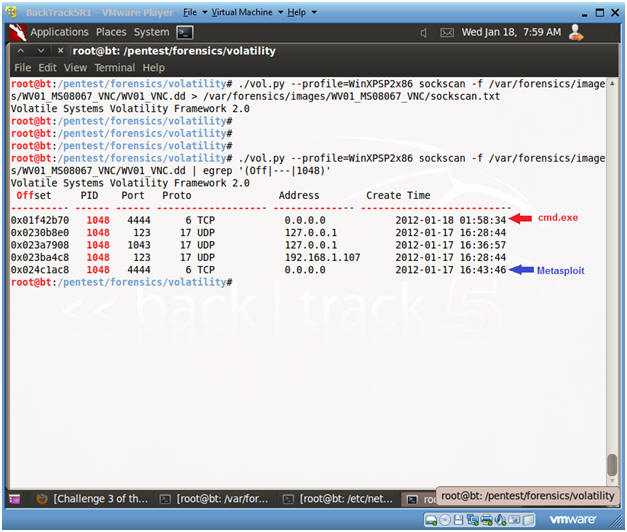
- ./vol.py --profile=WinXPSP2x86
sockscan -f /var/forensics/images/WV01_MS08067_VNC/WV01_VNC.dd > /var/forensics/images/WV01_MS08067_VNC/sockscan.txt
- This command lets you view all open Socket Connections.
- ./vol.py --profile=WinXPSP2x86
sockscan -f /var/forensics/images/WV01_MS08067_VNC/WV01_VNC.dd |
egrep '(Off|---|1048)'
- Note: This command lets you search for all processes associated with PID 1048.
- Note :
- In summary, we can say with confidence that Metasploit exploited PID 1048 (svchost.exe) at 16:43 on 1-17-2012 and connected to the Victim using port 4444.
- With less confidence, it is difficult to establish when cmd.exe (Metasploit Courtesy Command Prompt) was executed over port 4444, since the creation time is 9 hours and 30+ minutes after the svchost.exe attack. The vnc payload immediately executes a command prompt, so the creation time should be very close to the svchost.exe time.
- The previous point could be a credibility problem in court. I will work on some deeper forensics to show how this time was modified.
-
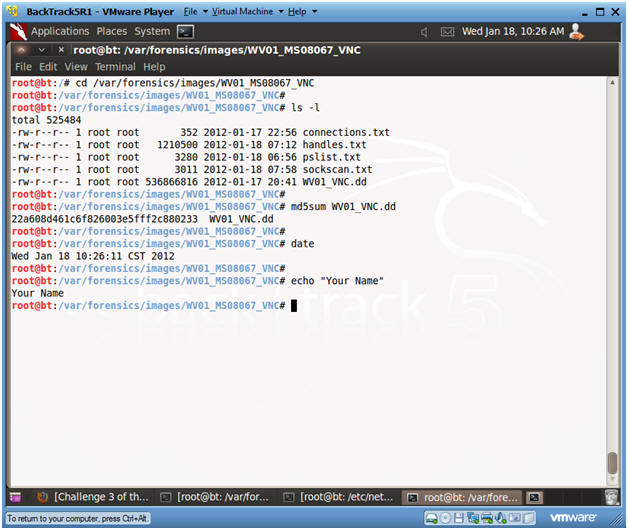
Proof of Lab
- Instructions :
- cd /var/forensics/images/WV01_MS08067_VNC
- ls -l
- md5sum WV01_VNC.dd
- As a Forensics investigator, it is always necessary to verify that the image has not changed during the investigation.
- date
- echo "Your Name"
- Replace the string "Your Name" with your actual name.
- E.g., echo "John Gray"
| Section 4. Proof of Lab |
- Proof of Lab
-
Proof Of Lab Instructions:
- Do Section 3, Step 6.
- Do a PrtScn of the below commands
- Paste into a word document
- Upload to Moodle
-
Proof Of Lab Instructions: