(Fedora: Lesson 20)
{ Installing chkrootkit }
| Section 0. Background Information |
- What is chkrootkit?
- chkrootkit (Check Rootkit) is a common Unix-based program intended to help system administrators check their system for known rootkits.
- It is a shell script using common UNIX/Linux tools like the strings and grep commands to search core system programs for signatures and for comparing a traversal of the /proc filesystem with the output of the ps (process status) command to look for discrepancies.
- Pre-Requisite Lab
- Legal Disclaimer
- As a condition of your use of this Web site, you warrant to computersecuritystudent.com that you will not use this Web site for any purpose that is unlawful or that is prohibited by these terms, conditions, and notices.
- In accordance with UCC § 2-316, this product is provided with "no warranties, either expressed or implied." The information contained is provided "as-is", with "no guarantee of merchantability."
- In addition, this is a teaching website that does not condone malicious behavior of any kind.
- Your are on notice, that continuing and/or using this lab outside your "own" test environment is considered malicious and is against the law.
- © 2012 No content replication of any kind is allowed without express written permission.
| Section 1: Configure Fedora14 Virtual Machine Settings |
- Open Your VMware Player
- Instructions:
- On Your Host Computer, Go To
- Start --> All Program --> VMWare --> VMWare Player
- Instructions:
- Edit BackTrack Virtual Machine Settings
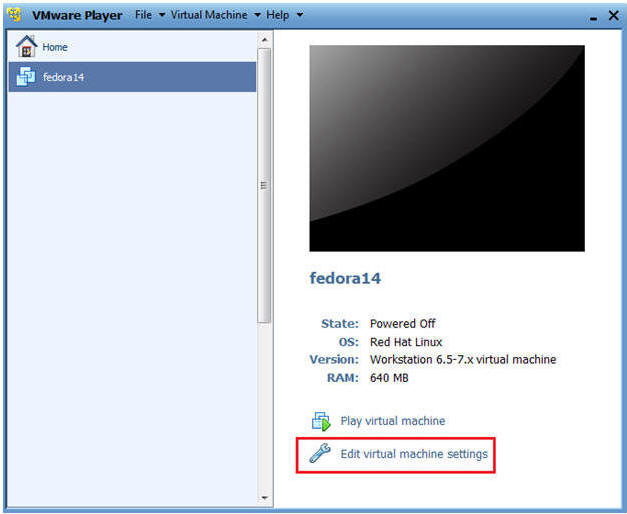
- Instructions:
- Highlight fedora14
- Click Edit virtual machine settings
- Instructions:
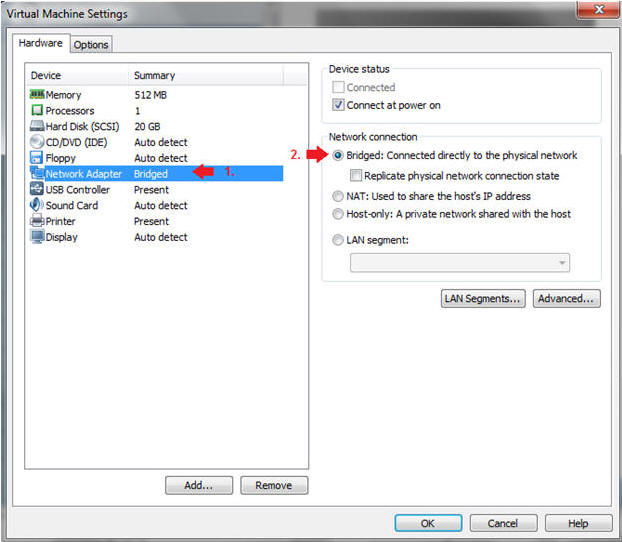
- Edit Network Adapter
- Instructions:
- Highlight Network Adapter
- Select Bridged
- Click on the OK Button.
- Instructions:
| Section 2: Login to your Fedora14 server. |
- Start Fedora14 VM Instance
- Instructions:
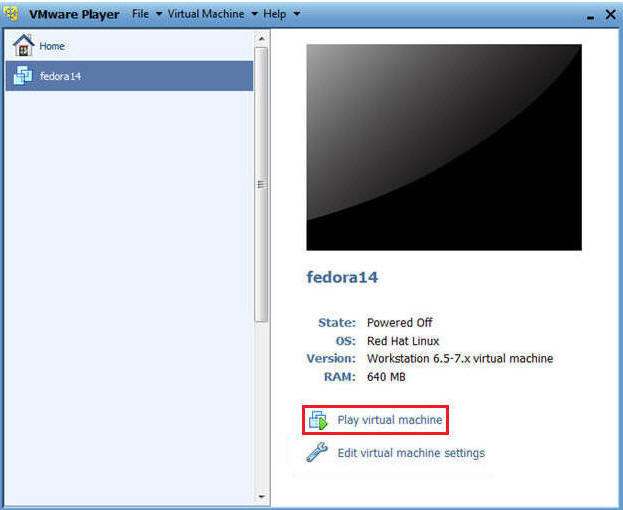
- Start Up VMWare Player
- Select Fedora14
- Play virtual machine
- Instructions:
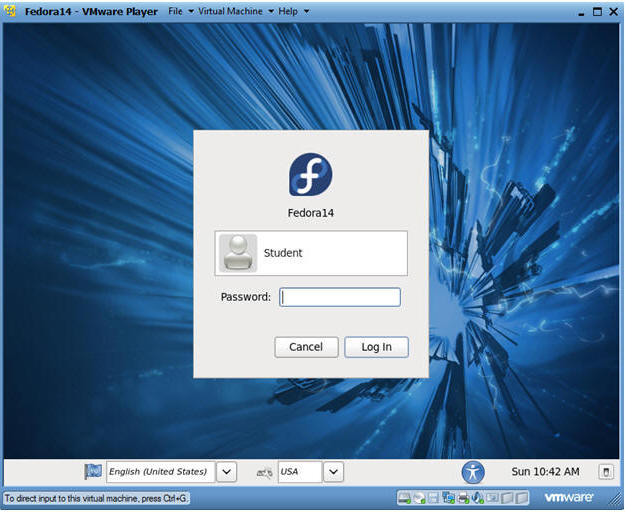
- Login to Fedora14
- Instructions:
- Login: student
- Password: <whatever you set it to>.
- Instructions:
| Section 3: Open Console Terminal and Retrieve IP Address |
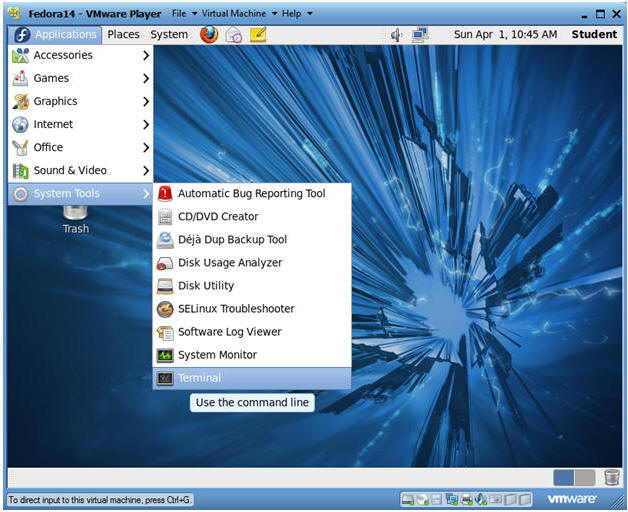
- Start a Terminal Console
- Instructions:
- Applications --> Terminal
- Instructions:
- Switch user to root
- Instructions:
- su - root
- <Whatever you set the root password to>

- Instructions:
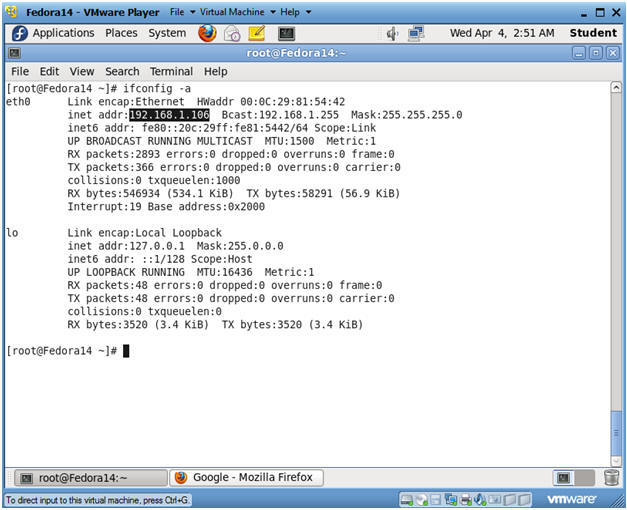
- Get IP Address
- Instructions:
- ifconfig -a
- Notes:
- As indicated below, my IP address is 192.168.1.106.
- Please record your IP address.
- Instructions:
| Section 4: Update YUM Repository and Install chkrootkit |
- Update YUM's package index
- Instructions
- yum list updates
- Notes
- This YUM command updates the repo list
file located in the following patch:
- /var/cache/yum/i*/*/updates/updateinfo.xml
- This YUM command updates the repo list
file located in the following patch:

- Instructions
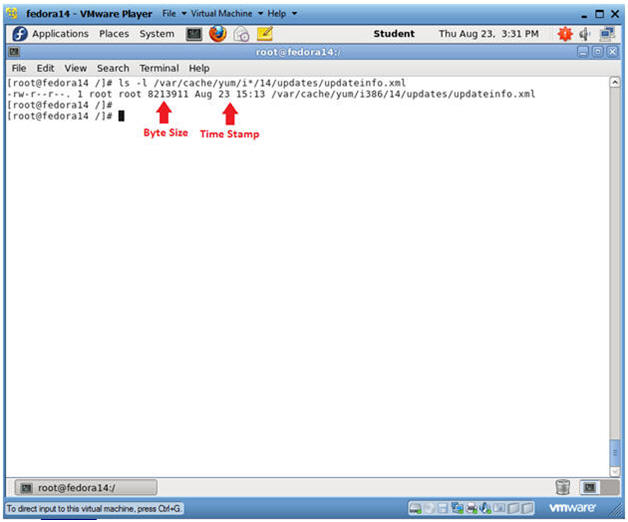
- See Repo List File
- Instructions
- ls -l /var/cache/yum/i*/*/updates/updateinfo.xml
- Notes
- If any updates have been made to the updateinfo.xml, both the byte size and timestamp will change
- Instructions
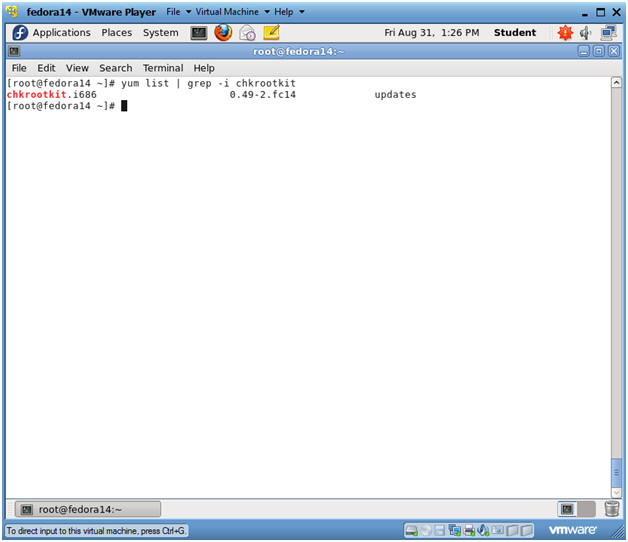
- Search for chkrootkit
- Instructions:
- yum list | grep chkrootkit
- Instructions:
- Install chkrootkit
- Instructions:
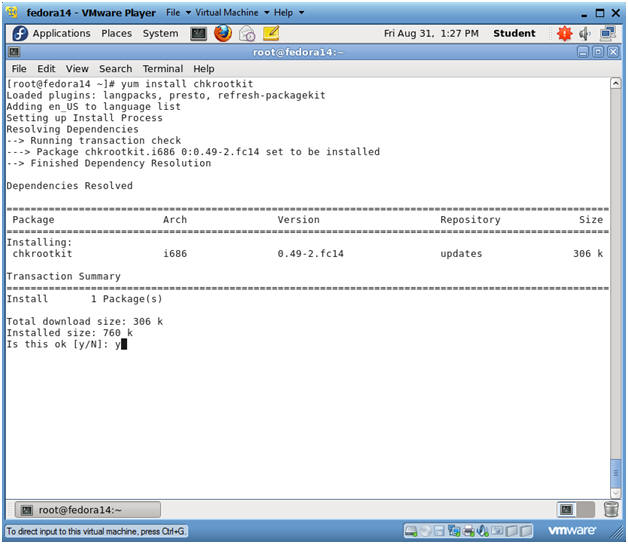
- yum install chkrootkit
- Is this ok [y/N]: y
- Instructions:
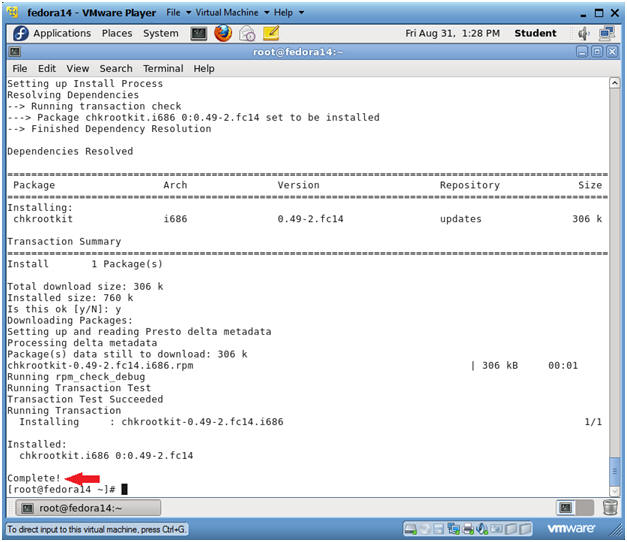
- View installation results
- Notes:
- You "should" see a "Complete!" message following the installation.
- Notes:
| Section 5: Running chkrootkit |
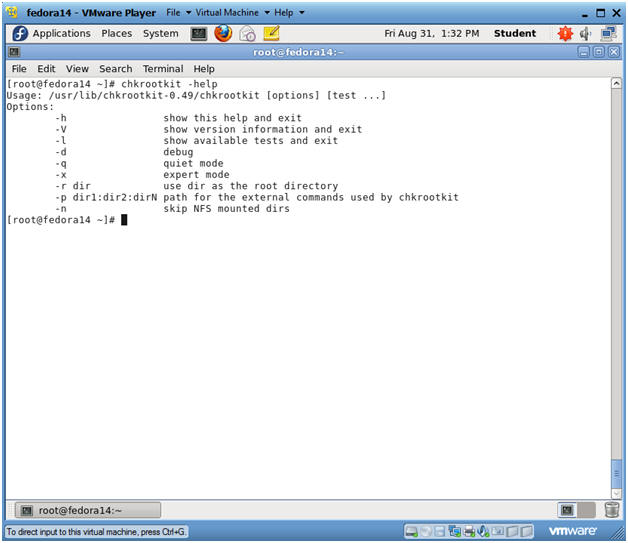
- Run chkrootkit's help menu
- Instructions:
- chkrootkit -help
- Notes:
- Your can use the "-h" or the "-help" flag to print the help menu.
- Instructions:
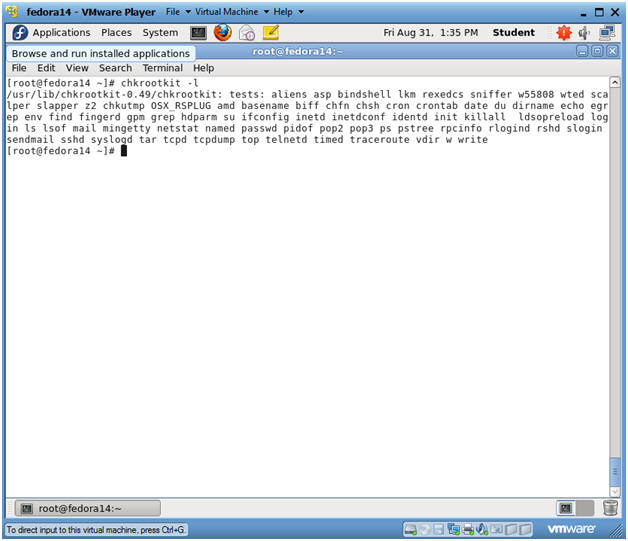
- List chkrootkit's checks
- Instructions:
- chkrootkit -l
- Notes:
- Use the "-l" flag to show which programs will be checked by chkrootkit.
- Instructions:
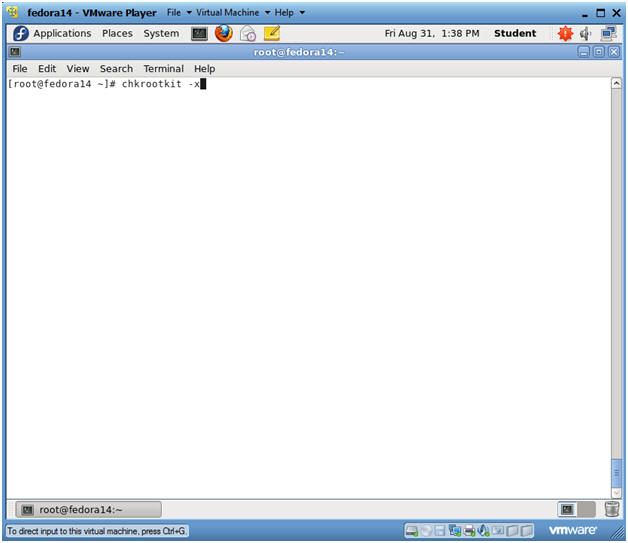
- Run chkrootkit in expert verbose mode
- Instructions:
- chkrootkit -x
- Notes:
- The "-x" flag runs chkrootkit in verbose mode.
- Instructions:
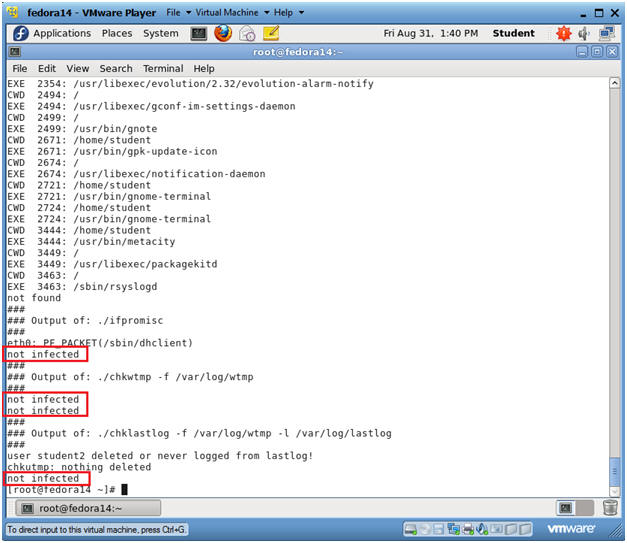
- View chkrootkit results
- Notes:
- Notice the "not infected" messages.
- Notes:
| Section 6: Create chkrootkit cronjob |
- Search for mailx
- Instructions:
- yum list mailx
- Notes:
- We will use mailx to sent chkrootkit email reports.

- Instructions:
- Install mailx
- Instructions:
- yum install mailx
- Is this ok [y/N]: y
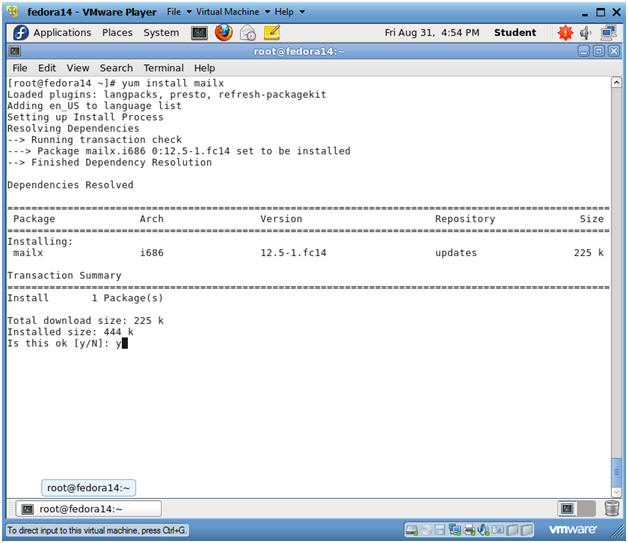
- Instructions:
- Verify mailx installation results
- Notes:
- Verify the installation report finished with a "Complete!" message.
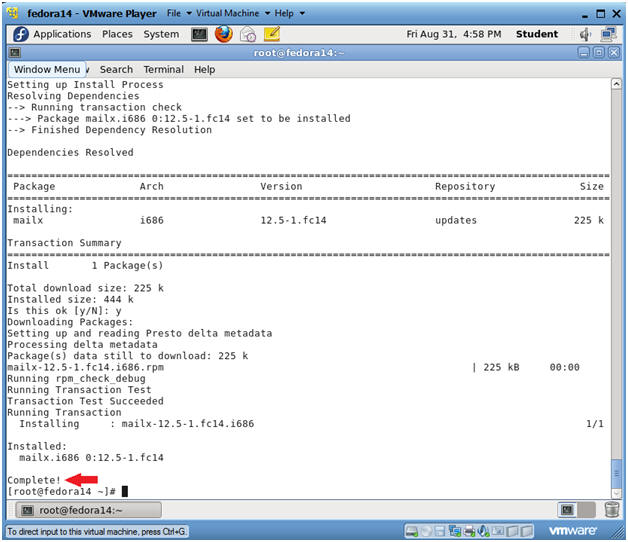
- Notes:
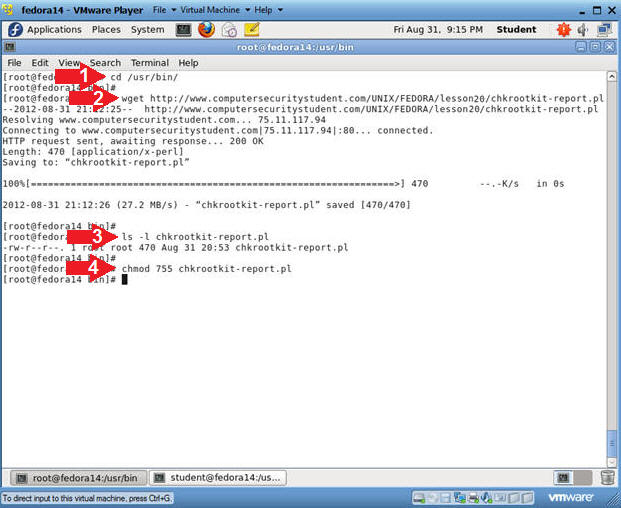
- Download chkrootkit-report.pl
- Instructions:
- cd /usr/bin/
- wget http://www.computersecuritystudent.com/UNIX/FEDORA/lesson20/chkrootkit-report.pl
- ls -l chkrootkit-report.pl
- chmod 755 chkrootkit-report.pl
- Instructions:
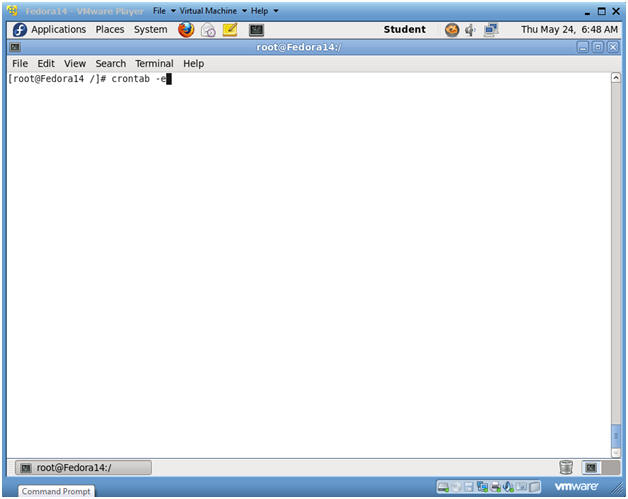
- Setting up cron
- Instructions:
- su - root, if you are not already root.
- crontab -e
- crontab is a unix/linux scheduler that allows each user, daemon, or system process run a task at a specified time.
- In this case, we are going to set up a scheduled task for user root.
- Instructions:
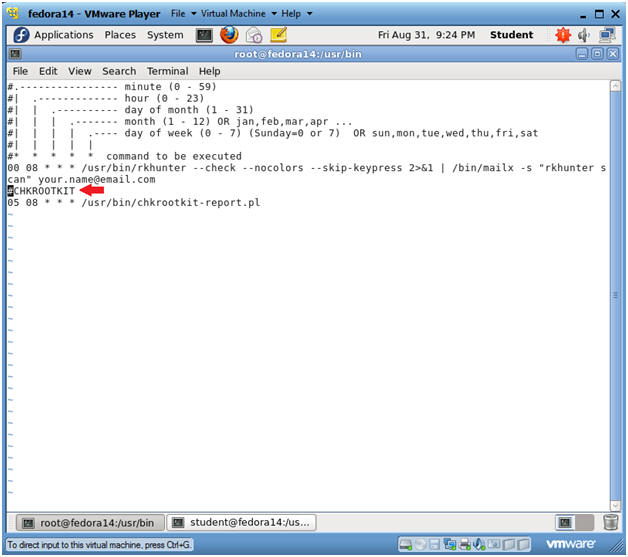
- Copy Cronjob Entry
- Instructions:
- Highlight and Copy the below text.
-
#CHKROOTKIT
05 08 * * * /usr/bin/chkrootkit-report.pl
-
- Highlight and Copy the below text.
- Instructions:
- Setting up cron
- Instructions:
- Press <Shift> and "g"
- This will place the cursor on the last line.
- Press "o"
- This will insert a line below the current line and it will place you into insert mode.
- Select Edit --> Paste from the menu
- Press the <Esc> key to get out of INSERT MODE
- Type :wq to save and exit the vi editor.
- Press <Shift> and "g"
- Instructions:
| Section 7: Proof of Lab |
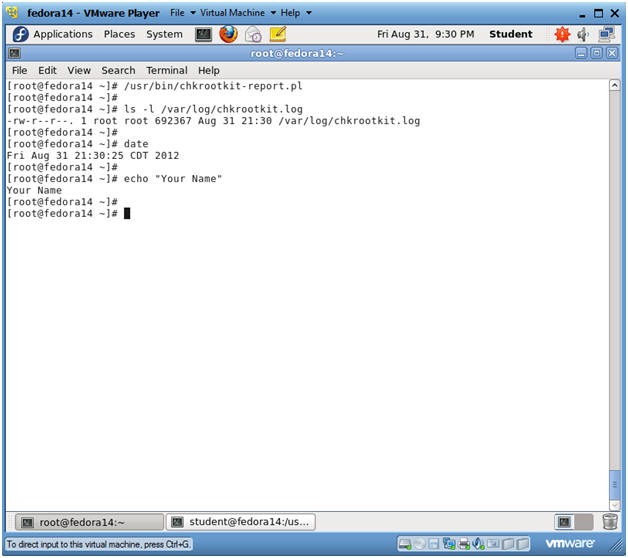
- Proof of Lab
- Instructions:
- /usr/bin/chkrootkit-report.pl
- ls -l /var/log/chkrootkit.log
- date
- echo "Your Name"
- Replace the string "Your Name" with your actual name.
- e.g., echo "John Gray"
-
Proof of Lab Instructions
- Press both the <Ctrl> and <Alt> keys at the same time.
- Do a <PrtScn>
- Paste into a word document
- Upload to Moodle
-
- Instructions: