(Kali:
Lesson 4)
{ Install BitDefender }
|
Section 0. Background
Information |
- Background information.
- The objective of the lesson is to show you how
to download, install and update BitDefender.
- What is BitDefender (bdscan)?
- Bitdefender (bdscan) is an anti-virus
scanner for both the Unix and Linux environments with the capabilities
to detect and remove Trojans, rootkits, rogues, aggressive adware, spam
and much more
- Prerequisite
-
Lab Notes
- In this lab we will do the following:
- We will download BitDefender
- We will install BitDefender
- We will update BitDefender
- Legal Disclaimer
- As a condition of your use of this Web
site, you warrant to computersecuritystudent.com that you will not use
this Web site for any purpose that is unlawful or
that is prohibited by these terms, conditions, and notices.
- In accordance with UCC § 2-316, this
product is provided with "no warranties, either express or implied." The
information contained is provided "as-is", with "no guarantee of
merchantability."
- In addition, this is a teaching website
that does not condone malicious behavior of
any kind.
- You are on notice, that continuing
and/or using this lab outside your "own" test environment
is considered malicious and is against the law.
- © 2016 No content replication of any kind
is allowed without express written permission.
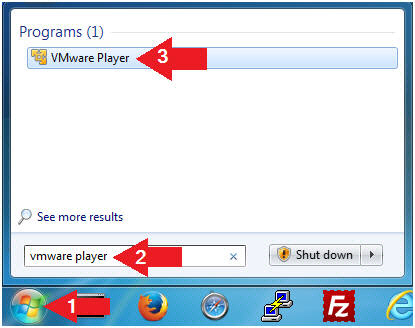
- Open VMware Player on your windows machine.
- Instructions:
- Click the Start Button
- Type "vmware player" in the search box
- Click on VMware Player
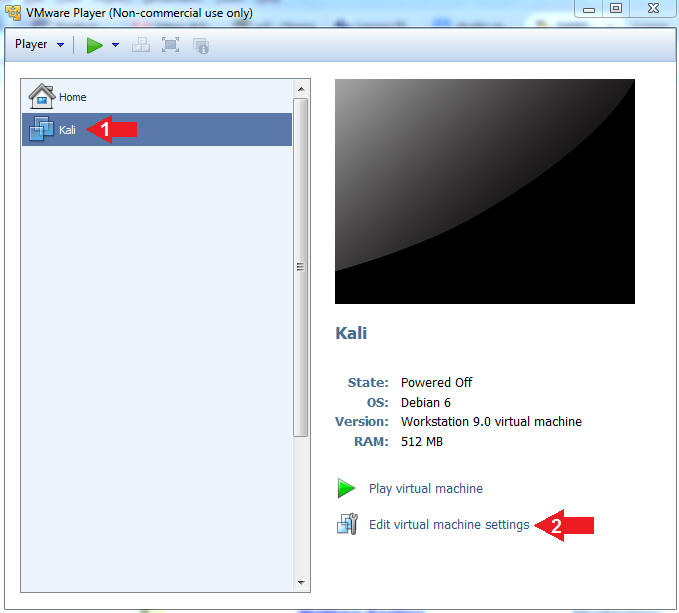
- Edit Virtual Machine Settings
- Instructions:
- Click on the Kali VM
- Click on Edit virtual machine settings
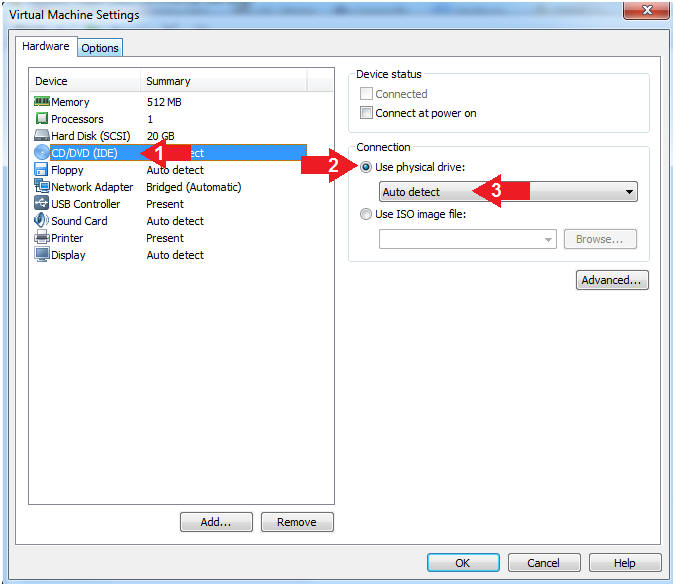
- Auto Detect Hard Drive
- Instructions:
- Click on CD/DVD(IDE)
- Click the Use physical drive: radio
button
- Make sure Auto detect is selected
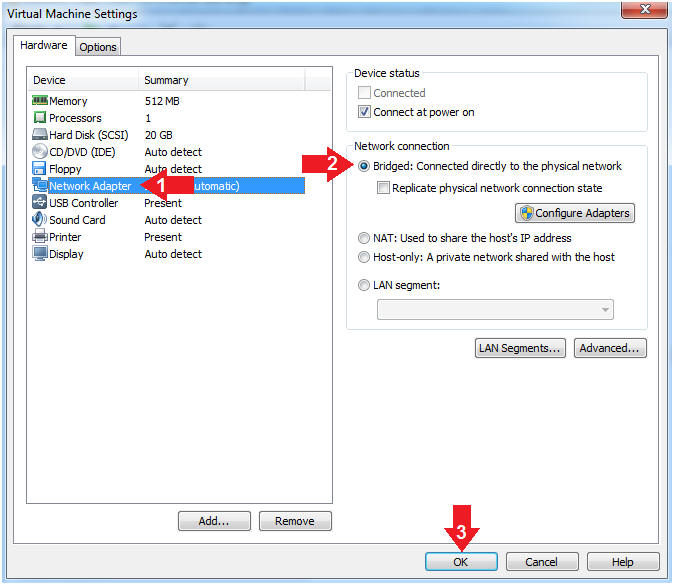
- Edit Network Adapter
- Instructions:
- Highlight Network Adapter
- Select Bridged
- Click the OK Button
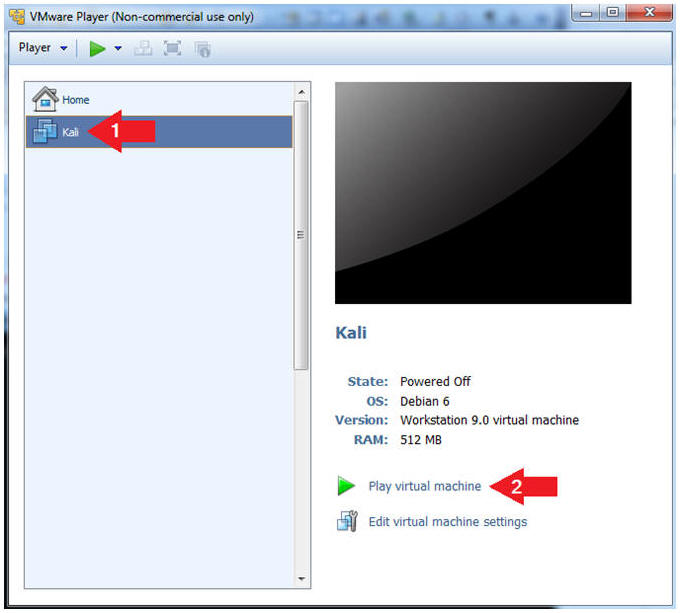
- Start the Kali VM
- Instructions:
- Click on the Kali VM
- Click on Play virtual machine
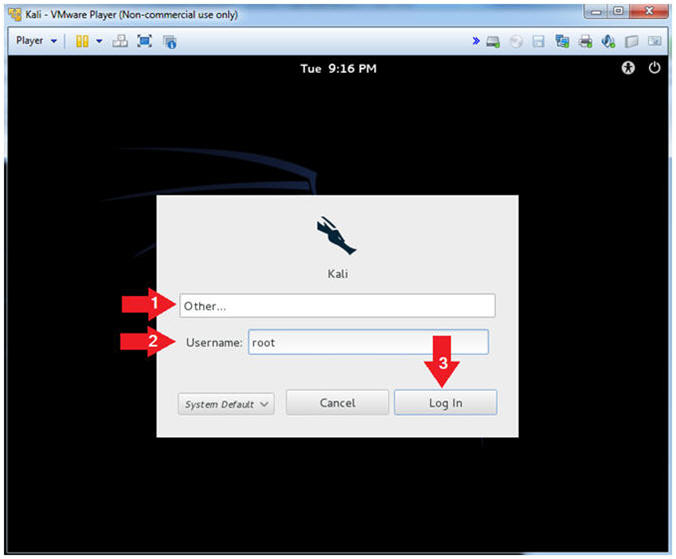
- Supply Username
- Instructions:
- Click Other
- Username: root
- Click the Login Button
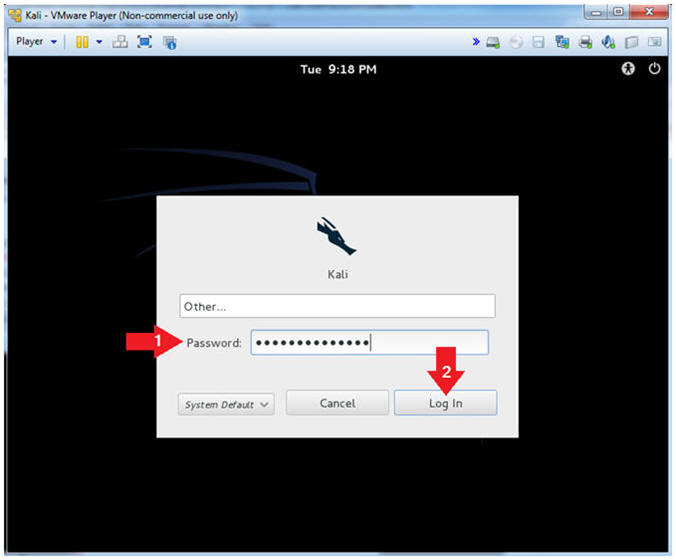
- Supply Password
- Instructions:
- Password: Provide the root password
- Click the Login Button
|
Section 3: Obtain IP Address Address |
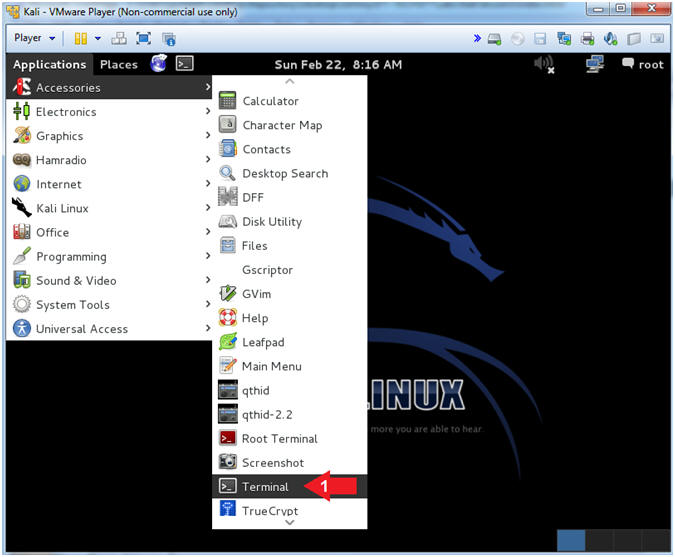
- Open a Terminal
- Instructions:
- Applications --> Accessories -->
Terminal
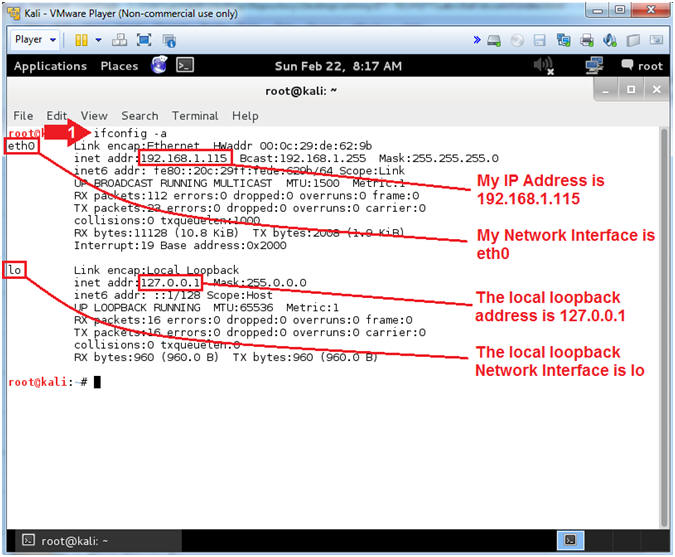
- Get IP Address
- Instructions:
- ifconfig -a
- Notes (FYI):
- As indicated below, my IP address is
192.168.1.115 for Network Interface eth0.
- Please record your IP address
- The Local Loopback Address is 127.0.0.1
for Network Interface lo.
- The loopback device is a special,
virtual network interface that your computer uses to communicate
with itself. When the network or wifi is disconnected the
loopback exists so applications running on your computer can
always connect to servers on the same machine.
|
Section 4: Download
BitDefender |
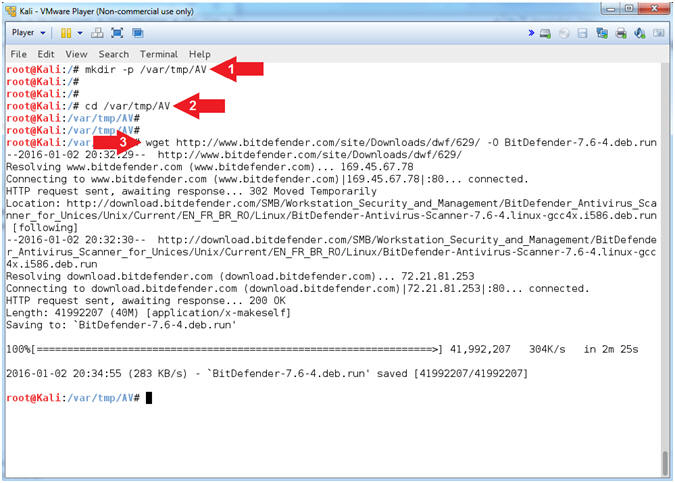
- Download BitDefender
- Instructions:
- mkdir -p /var/tmp/AV
- cd /var/tmp/AV
- wget http://www.computersecuritystudent.com/UNIX/KALI/1_0/lesson4/BitDefender-Antivirus-Scanner-7.6-4.linux-gcc4x.i586.deb.run -O BitDefender-7.6-4.deb.run
- Note(FYI):
- Command #1, Use (mkdir) to create the
directory (/var/tmp/AV). Use the flag (-p) to suppress errors
if the directory already exists.
- Command #2, Use (cd) to change
directory into (/var/tmp/AV).
- Command #3, Use (wget) to download
BitDefender. Use the flag (-O) to name the downloaded file (BitDefender-7.6-4.deb.run). Think wget link has been updated, but the picture has not.
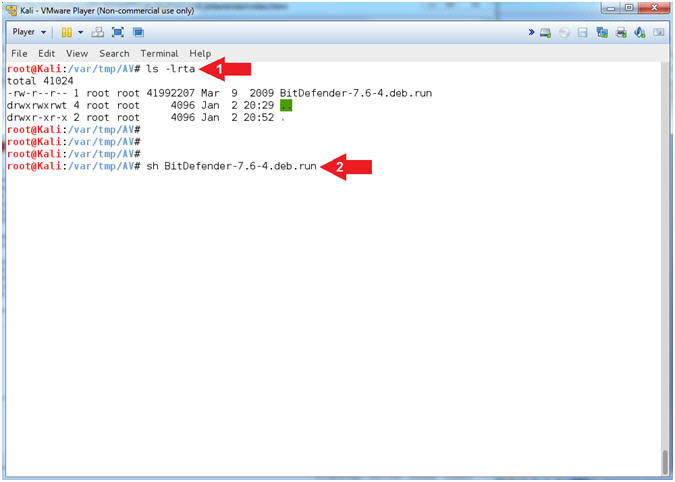
- Install BitDefender (Part 1)
- Instructions:
- ls -lrta
- sh BitDefender-7.6-4.deb.run
- Note(FYI):
- Use (ls -lrta) to list (-l) all file in
the (/var/tmp/AV) directory, by order by time in ascending order (-rt),
and display hidden files (-a). A simply (ls -l) would work,
but (ls -lrta) is habit for me.
- Command #2, The BitDefender*.deb.run is
a shell script. However, by default, that shell script has 644
permission, which means it will not run, unless you (1) invoke it by
way of a shell (sh) -or- change the permissions to something like
(755) and source it (./BitDefender*.deb.run).
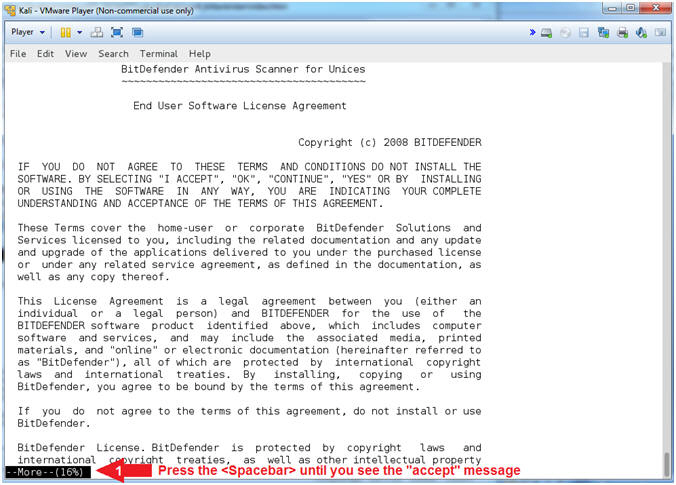
- Install BitDefender (Part 2)
- Instructions:
- Press the <Spacebar> until you see the
Accept message
- Note(FYI):
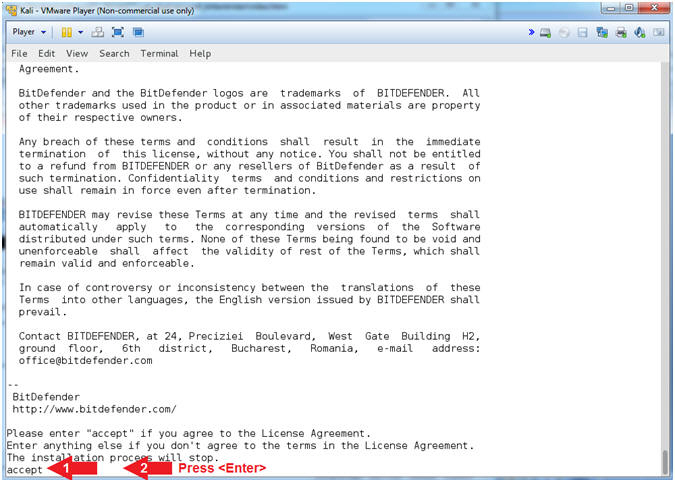
- Command #1, The Accept Message will
look similar to the below.
- Please enter "accept" if you agree
to the License Agreement.
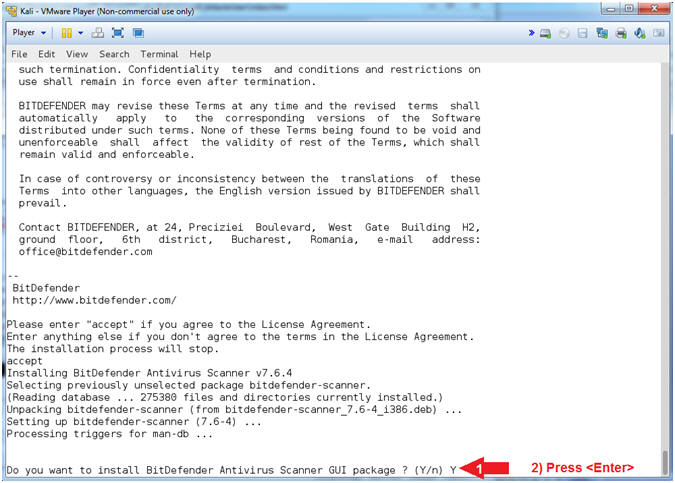
- Install BitDefender (Part 3)
- Instructions:
- Type
accept
- Press <Enter>
- Install BitDefender (Part 4)
- Instructions:
- Type
Y
- Press <Enter>
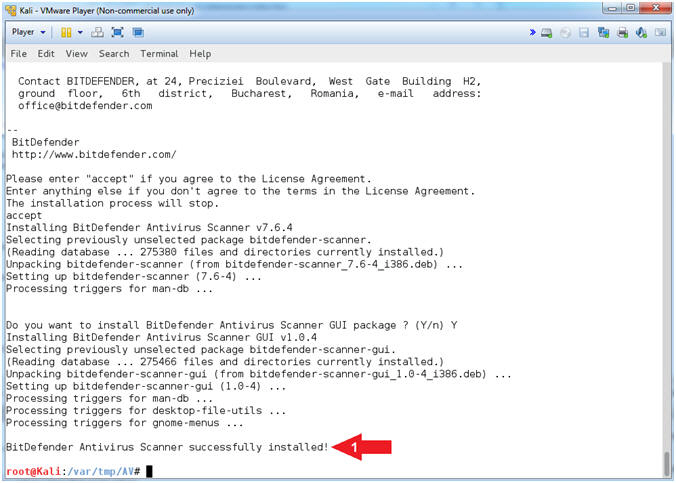
- Successfully Installed
- Instructions:
- Verify that you see that BitDefender
was successfully installed.
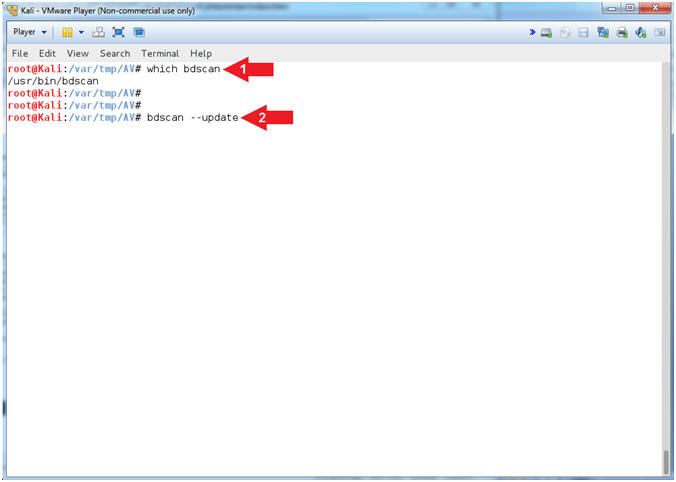
- Update BitDefender
- Instructions:
- which bdscan
- bdscan --update
- Note(FYI):
- Command #1, Use (which) to display to
full path of which bdscan is located.
- Command #2, bdscan is BitDefender
console virus scanner for Unices. Use the flag (--update) to
automatically update the virus signatures. This will take
between 10 to 15
minutes to update.
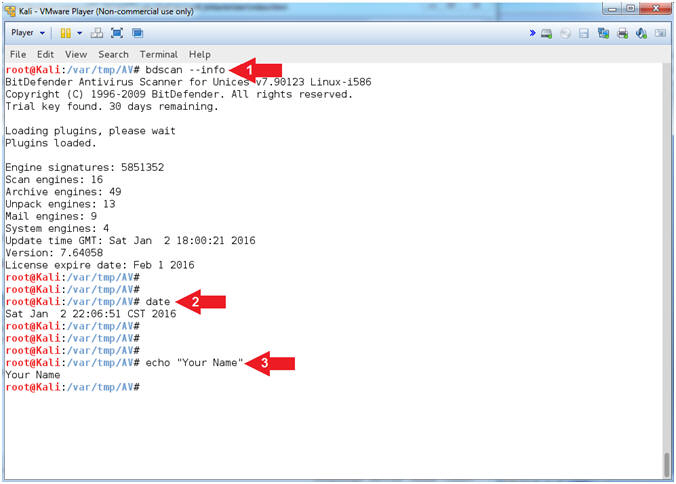
- Proof of Lab
- Instructions:
- bdscan --info
- date
- echo "Your Name"
- Replace the string "Your Name" with
your actual name.
- e.g., echo "John Gray"
-
Proof of Lab
Instructions
- Do a <PrtScn>
- Paste into a word document
- Upload to Moodle
|
 
|