(How Set Up a Reverse SSH Tunnel)
{ Reverse SSH Tunnel, ssh -R, ssh -p, netstat -a }
| Section 0. Background Information |
- Reverse SSH Tunnel Scenario
- Let's assume that your job is located 30 miles away from your home.
- Wouldn't it be horrible if your work or school did not have a VPN for you to remotely login and do work in this day an age.
- Let's further assume you have some sort of deadline (executive report / school project).
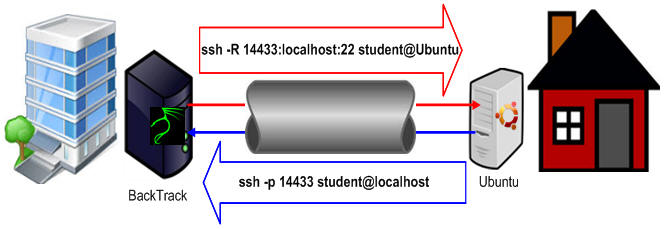
- So, the below picture illustrates how a person could establish a reverse sshe tunnel from work server (BackTrack) to their home server (Ubuntu).
- Pre-Requisite Lab
- BackTrack: Lesson 1: Installing BackTrack 5 R1
- BackTrack: Lesson 8: Configuring the SSH Server
- Ubuntu: Lesson 1: Installing Ubuntu Desktop 12.04 LTS
- Ubuntu: Lesson 8: Installing and Securing openssh-server (a.k.a., sshd)
-
Lab Notes
- In this lab we will do the following:
- Create and Configure a Putty SSH Tunnel
- Configure Firefox SOCK Proxy
- Test if traffic is still blocked
- In this lab we will do the following:
- Legal Disclaimer
- As a condition of your use of this Web site, you warrant to computersecuritystudent.com that you will not use this Web site for any purpose that is unlawful or that is prohibited by these terms, conditions, and notices.
- In accordance with UCC § 2-316, this product is provided with "no warranties, either express or implied." The information contained is provided "as-is", with "no guarantee of merchantability."
- In addition, this is a teaching website that does not condone malicious behavior of any kind.
- You are on notice, that continuing and/or using this lab outside your "own" test environment is considered malicious and is against the law.
- © 2014 No content replication of any kind is allowed without express written permission.
| Section 1. Configure and Play the Ubuntu Virtual Machine |
- Start Ubuntu 12.04
- Instructions
- For Windows 7
- Start --> All Programs --> VMware Player
- For Windows XP
- Starts --> Programs --> VMware Player
- For Windows 7
- Instructions
- Verify Virtual Machine Settings.
- Instructions
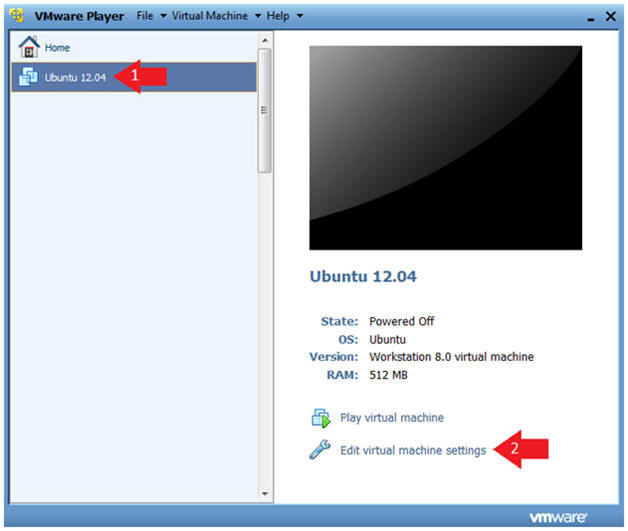
- Click on Ubuntu 12.04
- Click on Edit virtual machine settings
- Instructions
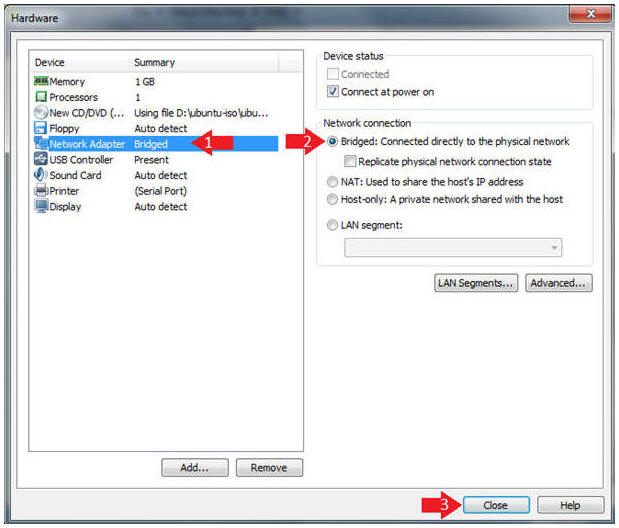
- Configure Network Adapter
- Instructions
- Click on Network Adapter
- Click on the Bridged Radio Button
- Click on the Close Button
- Instructions
- Start the Ubuntu 12.04 VM
- Instructions
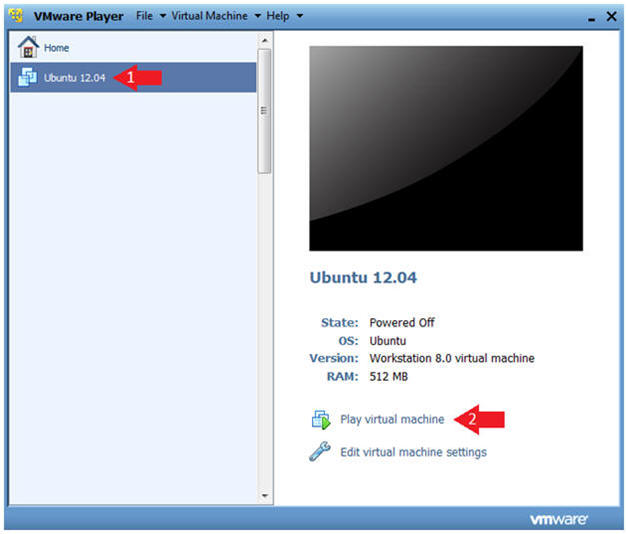
- Click on Ubuntu 12.04
- Click on Play virtual machine
- Instructions
| Section 2. Login to Ubuntu |
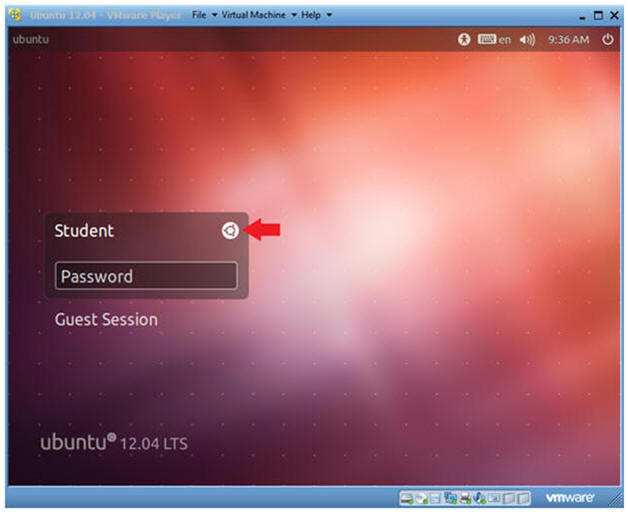
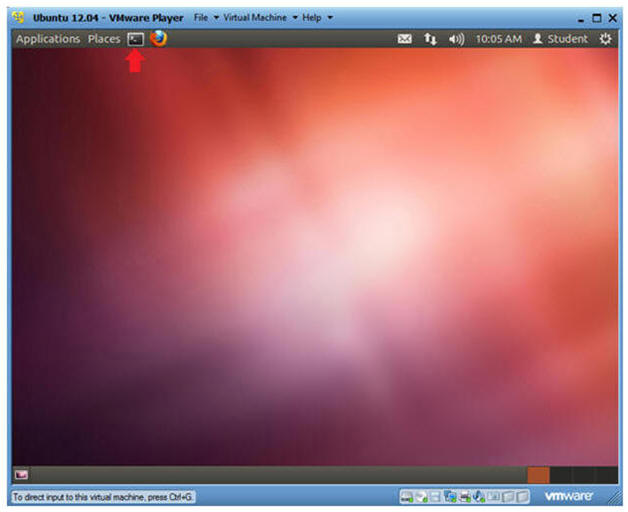
- Change to Gnome Classic
- Instructions:
- Click on the Circle
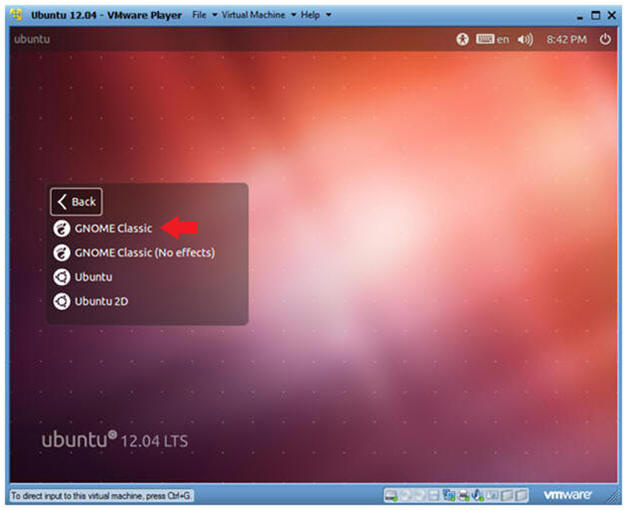
- Instructions:
- Select Gnome Classic
- Instructions:
- Double Click on GNOME Classic
- Instructions:
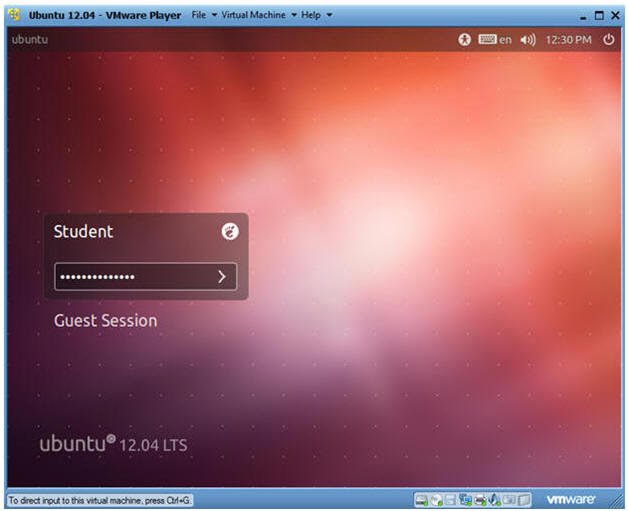
- Login to Server
- Instructions
- User: Student
- Password: Please supply the student password.
- Instructions
| Section 3. Become Root and Verify Network Connection |
- Start up a Terminal
- Instructions
- Click on the Terminal
- Instructions
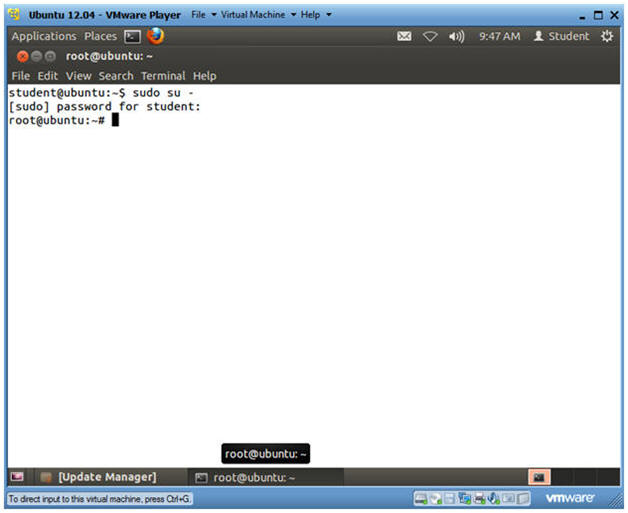
- Become Root
- Instructions
- sudo su -
- Supply the student password.
- Instructions
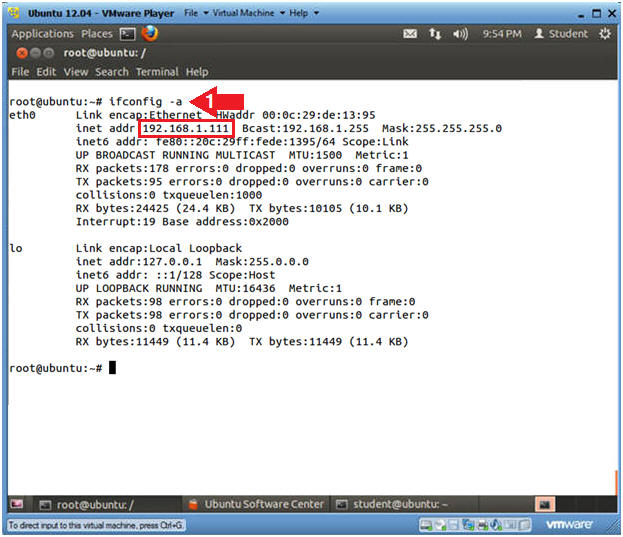
- Verify you have a network connection
- Instructions
- ifconfig -a
- eth0 is the name of my interface.
- 192.168.1.111 is my network IP address.
- ifconfig -a
- Notes
- If you do not have an DHCP IP Address
try the following:
- dhclient
- OR
- /etc/init.d/networking restart
- dhclient
- If you do not have an DHCP IP Address
try the following:
- Instructions
| Section 4. Configure BackTrack Virtual Machine Settings |
- Start Ubuntu 12.04
- Instructions
- For Windows 7
- Start --> All Programs --> VMware Player
- For Windows XP
- Starts --> Programs --> VMware Player
- For Windows 7
- Instructions
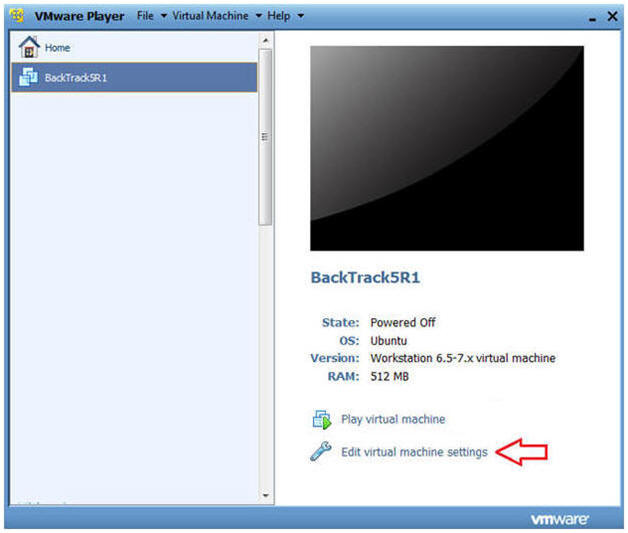
- Edit BackTrack Virtual Machine Settings
- Instructions:
- Highlight BackTrack5R1
- Click Edit virtual machine settings
- Instructions:
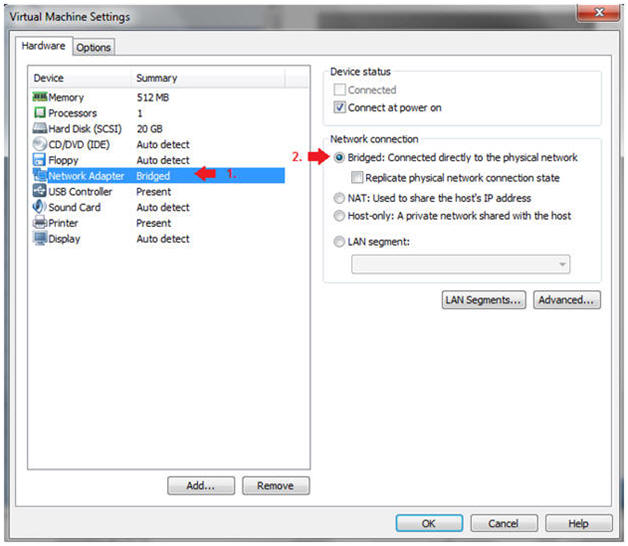
- Edit Network Adapter
- Instructions:
- Highlight Network Adapter
- Select Bridged
- Do not Click on the OK Button.
- Instructions:
| Section 5. Start the BackTrack Virtual Machine |
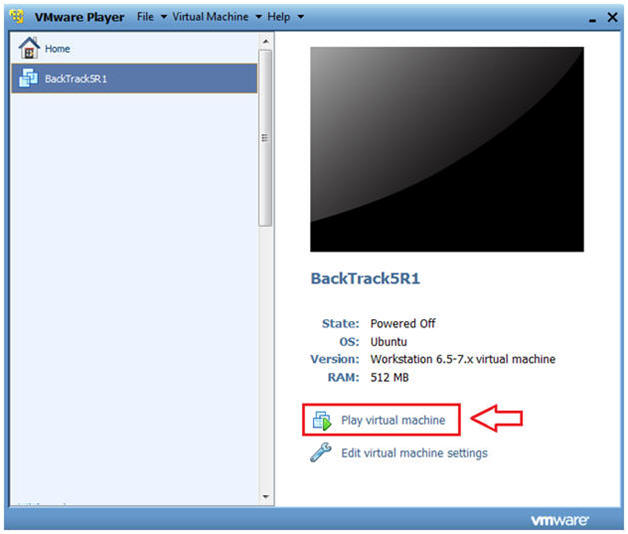
- Start BackTrack VM Instance
- Instructions:
- Start Up VMWare Player
- Select BackTrack5R1
- Play virtual machine
- Instructions:
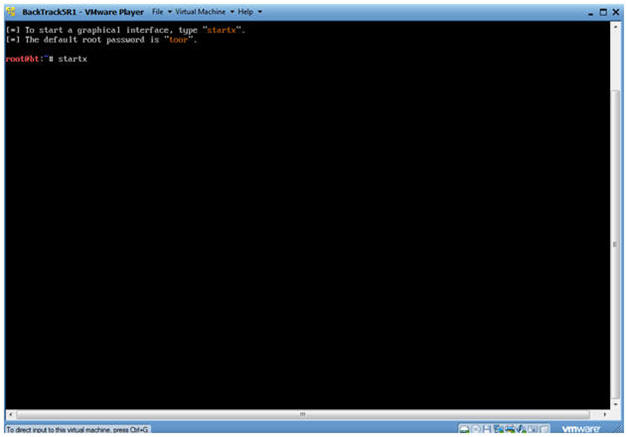
- Login to BackTrack
- Instructions:
- Login: root
- Password: toor or <whatever you changed it to>.

- Instructions:
- Bring up the GNOME
- Instructions:
- Type startx
- Instructions:
| Section 6. Open Console Terminal and Retrieve IP Address |
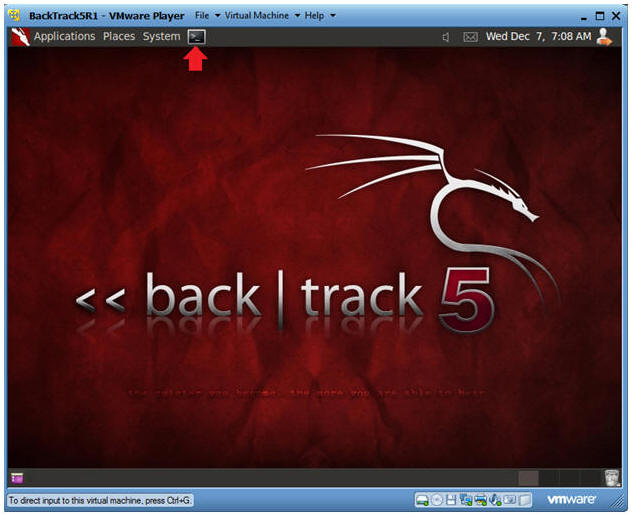
- Open a console terminal
- Instructions:
- Click on the console terminal
- Instructions:
- Get IP Address
- Instructions:
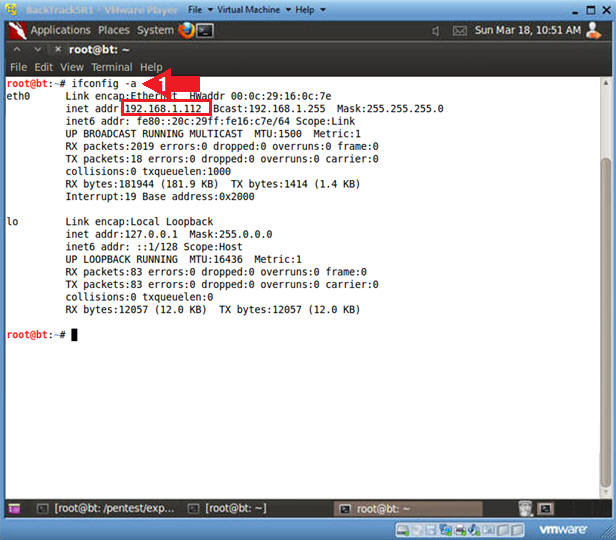
- ifconfig -a
- Notes(FYI):
- As indicated below, my IP address is 192.168.1.112.
- Please record your IP address.
- Instructions:
- Start the SSH Server
- Instructions:
- service ssh start
- ps -eaf | grep -v grep | grep sshd
- Notes(FYI):
- Starting SSH server might not be necessary for other versions of BackTrack. By default BK5R1, the SSH Server does not start by default.
- ps -eaf, Show all processes on the syste
- grep -v grep, do not display the actual process grep.
- grep ssh, display only the sshd process

- Instructions:
| Section 6. Create a reverse SSH session |
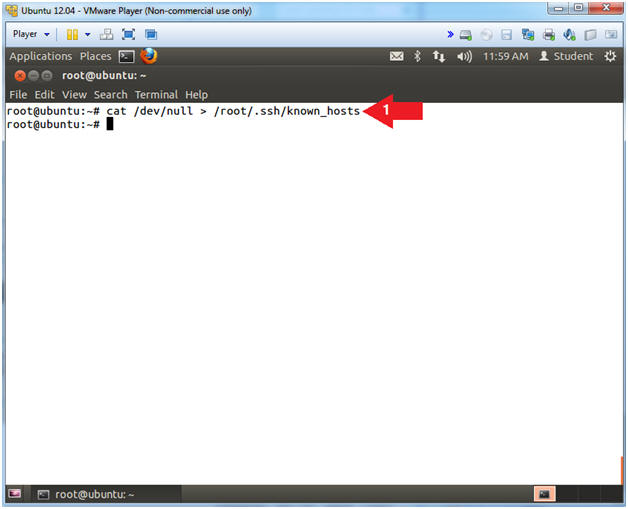
- Clear known_hosts
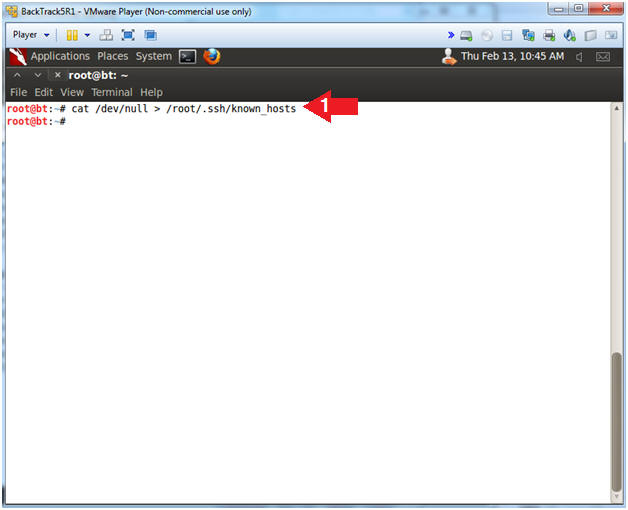
- Instructions:
(On
BackTrack)
- cat /dev/null > /root/.ssh/known_hosts
- Notes(FYI):
- This step is not necessary.
- This step is done to prevent any known_hosts warnings for the purposes of the lesson.
- Instructions:
(On
BackTrack)
- Create Reverse SSH Tunnel
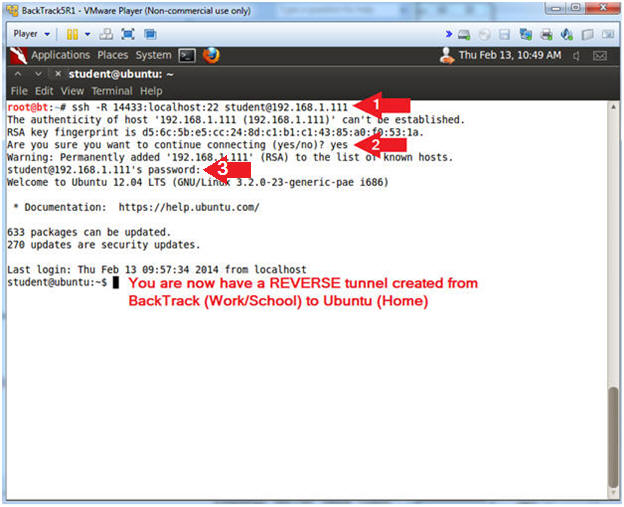
- Instructions:
- ssh -R 14433:localhost:22 student@192.168.1.111
- yes
- Supply the student password to the Ubuntu VM.
- Notes(FYI):
- Replace 192.168.1.111 with your Ubuntu IP address obtain from (Section 3, Step 3).
- "-R" - This option provides the REVERSE tunnel. It specifies that the given port on the remote server is to be forwarded to the given host and port on the local side.
- "14433" - Is the port that we will use on TargetUbuntu02 (Outside Internet server) to connect back to TargetUbuntu01 (Internal server).
- "22" - Is the ssh port that we changed to port 14433.
- "student@192.168.1.111"
- "student" - This is the username you are connecting to Ubuntu as.
- "192.168.1.111" - This is the IP address of Ubuntu. Remember in a real world scenario, Ubuntu would be a server on the Internet OR maybe port forwarded on a home router.
- Instructions:
| Section 7. Basic Network Forensics |
- See Established Reverse SSH Tunnel
- Instructions:
(On
Ubuntu)
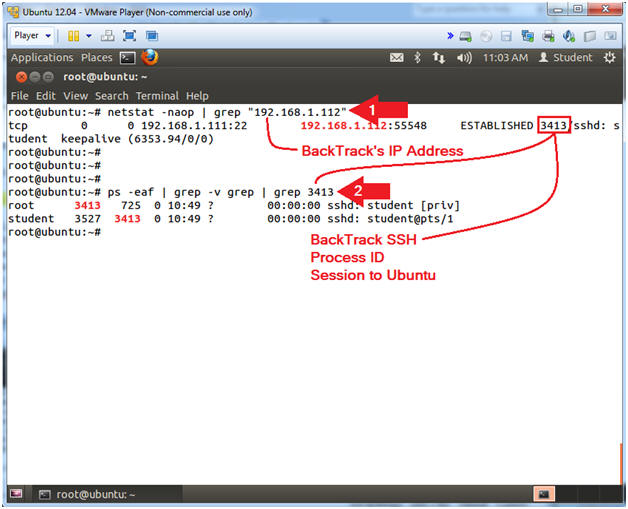
- netstat -naop | grep "192.168.1.112"
- ps -eaf | grep -v grep | grep 3413
- Notes(FYI):
- Replace 192.168.1.112 with your BackTrack IP obtain from (Section 6, Step 2).
- Replace the Process ID (3413) obtain from your netstat output.
- Instructions:
(On
Ubuntu)
| Section 8. Connect to Reverse SSH Tunnel |
- Clear known_hosts
- Instructions:
(On
Ubuntu)
- cat /dev/null > /root/.ssh/known_hosts
- Notes(FYI):
- This step is not necessary.
- This step is done to prevent any known_hosts warnings for the purposes of the lesson.
- Instructions:
(On
Ubuntu)
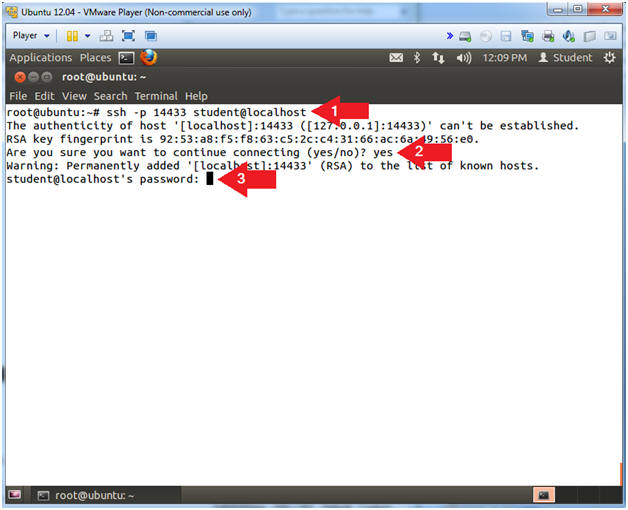
- Connect to Reverse SSH Tunnel
- Instructions:
- ssh -p 14433 student@localhost
- yes
- Supply student password to the BackTrack VM.
- Notes(FYI):
- "-p" - This option says use port 14433
- "student@localhost"
- "student" - You are connecting back to BackTrack as username student.
- "localhost" - You connect to the localhost, since you have a session already established on port 14433.
- Instructions:
- Connect to Reverse SSH Tunnel
- Instructions:
- hostname
- Notes(FYI):
- hostname - show or set the system's host name
- You are now logged on the BackTrack VM.

- Instructions:
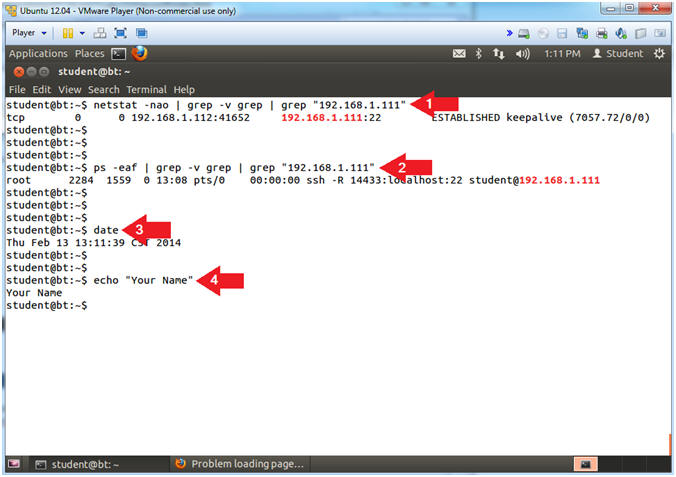
| Section 9. Proof of Lab |
- Proof of Lab
(On Ubuntu)
- Notes(FYI):
- Replace 192.168.1.111 with your Ubuntu IP address obtain from (Section 3, Step 3).
- Instructions:
- netstat -nao | grep -v grep | grep "192.168.1.111"
- ps -eaf | grep -v grep | grep "192.168.1.111"
- date
- echo "Your Name"
- Replace the string "Your Name" with your actual name.
- e.g., echo "John Gray"
-
Proof of Lab Instructions:
- Do a PrtScn
- Paste into a word document
- Upload to Moodle
- Notes(FYI):