(Damn Vulnerable Windows XP: Lesson 5)
{ How to setup the UltraVNC 1.0.2 }
| Section 0. Background Information |
- What is Damn Vulnerable Windows XP?
- This is a Windows XP Virtual Machine that provides a practice environment to conduct ethical penetration testing, vulnerability assessment, exploitation and forensics investigation.
- The Microsoft Software License Terms for the IE VMs are included in the release notes.
- By downloading and using this software, you agree to these license terms.
- What is
the UltraVNC?
- UltraVNC (sometimes written uVNC) is an open source remote administration utility for Microsoft Windows that uses the VNC protocol to control another computer remotely over a network connection.
- http://www.uvnc.com/products/uvnc-server.html
- What is
the UltraVNC 1.0.2 Remote
Exploit?
- The CVE Vulnerability number is CVE-2008-0610.
- Stack-based buffer overflow in the ClientConnection::NegotiateProtocolVersion function in vncviewer/ClientConnection.cpp in vncviewer for UltraVNC 1.0.2 and 1.0.4 before 01252008, when in LISTENING mode or when using the DSM plugin, allows remote attackers to execute arbitrary code or cause a denial of service (crash) via a modified size value.
- Implementing the CVE-2011-0609 with UltraVNC
- The following lesson will show you how to configure UltraVNC.
- The Post-Requisite Lesson will show you how to illustrate the exploit.
- Pre-Requisite
- Post-Requisite
-
Lab Notes
- In this lab we will do the following:
- Download UltraVNC 1.0.2
- Install UltraVNC 1.0.2
- In this lab we will do the following:
- Legal Disclaimer
- As a condition of your use of this Web site, you warrant to computersecuritystudent.com that you will not use this Web site for any purpose that is unlawful or that is prohibited by these terms, conditions, and notices.
- In accordance with UCC § 2-316, this product is provided with "no warranties, either express or implied." The information contained is provided "as-is", with "no guarantee of merchantability."
- In addition, this is a teaching website that does not condone malicious behavior of any kind.
- You are on notice, that continuing and/or using this lab outside your "own" test environment is considered malicious and is against the law.
- © 2015 No content replication of any kind is allowed without express written permission.
| Section 1: Log into Damn Vulnerable WXP-SP2 |
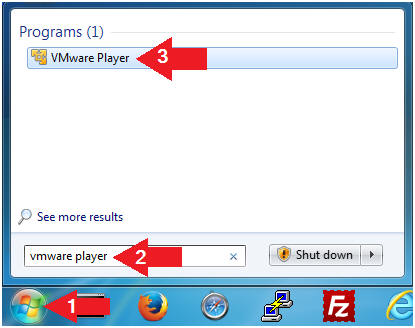
- Open VMware Player on your windows machine.
- Instructions:
- Click the Start Button
- Type "vmware player" in the search box
- Click on VMware Player
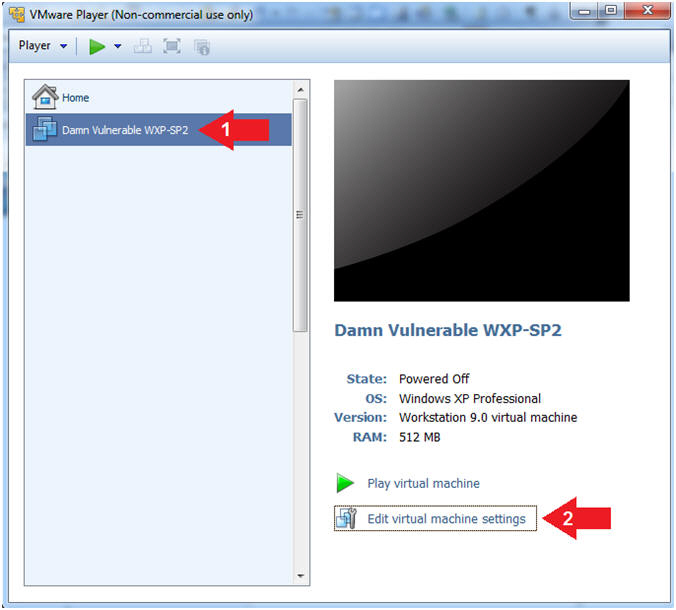
- Instructions:
- Edit Virtual Machine Settings
- Instructions:
- Click on Damn Vulnerable WXP-SP2
- Edit Virtual Machine Settings
- Note:
- Before beginning a lesson it is necessary to check the following VM settings.
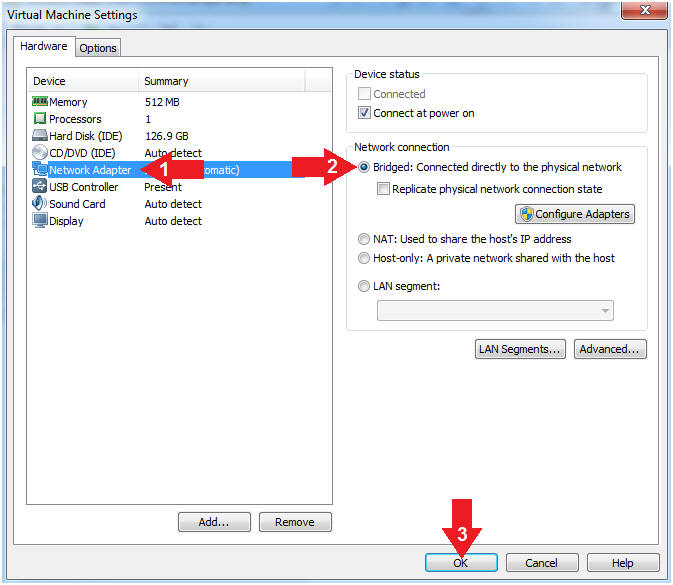
- Instructions:
- Set Network Adapter
- Instructions:
- Click on Network Adapter
- Click on the radio button "Bridged: Connected directly to the physical network".
- Click the OK Button
- Instructions:
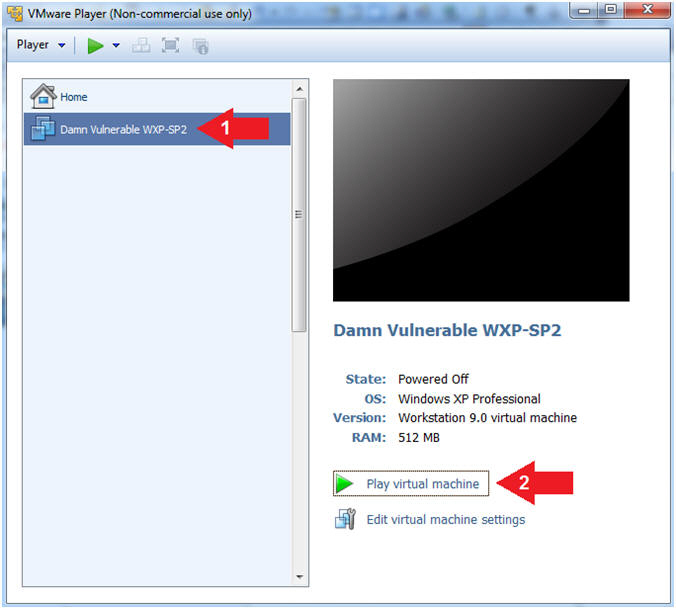
- Start Up Damn Vulnerable WXP-SP2.
- Instructions:
- Start Up your VMware Player
- Play virtual machine
- Instructions:
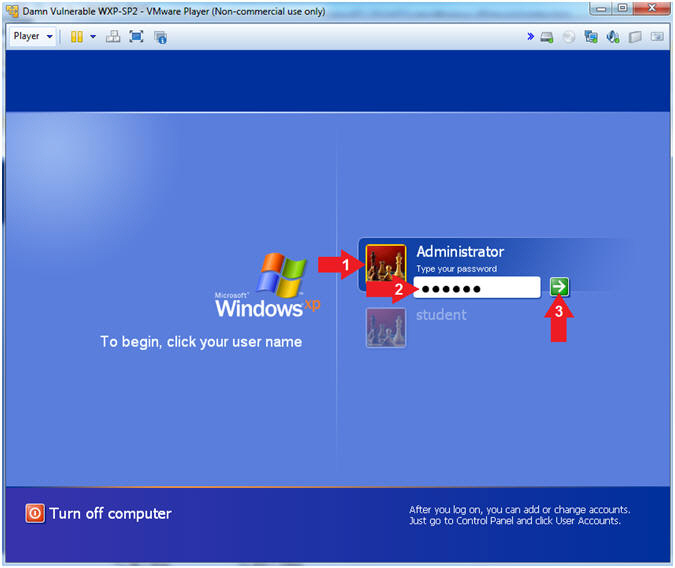
- Logging into Damn Vulnerable WXP-SP2.
- Instructions:
- Click on Administrator
- Password: Supply Password
- (See Note)
- Press <Enter> or Click the Arrow
- Note(FYI):
- Password was created in (Lab 1, Section 1, Step 8)
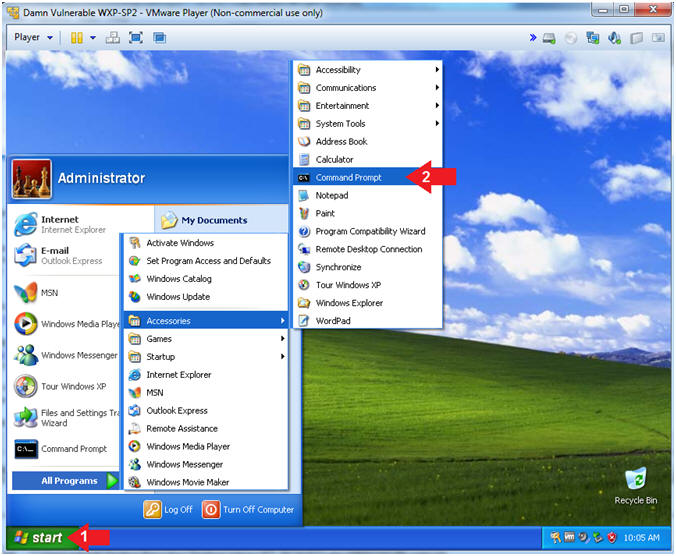
- Instructions:
- Open the Command Prompt
- Instructions:
- Click the Start Button
- All Programs --> Accessories --> Command Prompt
- Instructions:
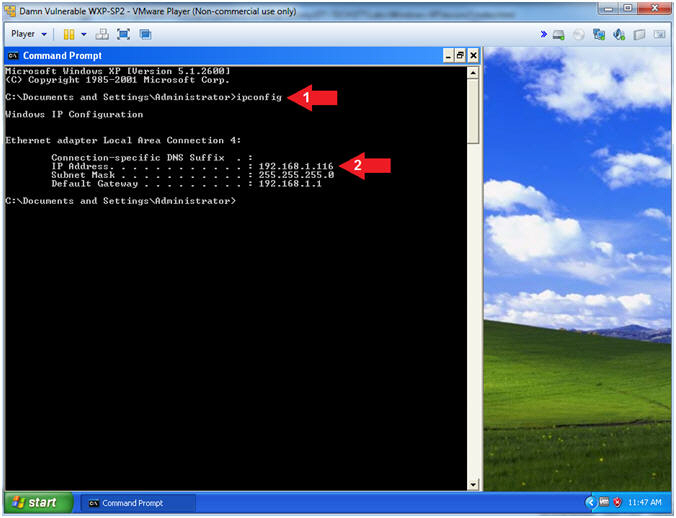
- Obtain Damn Vulnerable WXP-SP2's IP Address
- Instructions:
- ipconfig
- Record Your IP Address
- Note(FYI):
- In my case, Damn Vulnerable WXP-SP2's IP Address 192.168.1.116.
- This is the IP Address of the Victim Machine.
- Instructions:
| Section 2: Install UltraVNC 102 |
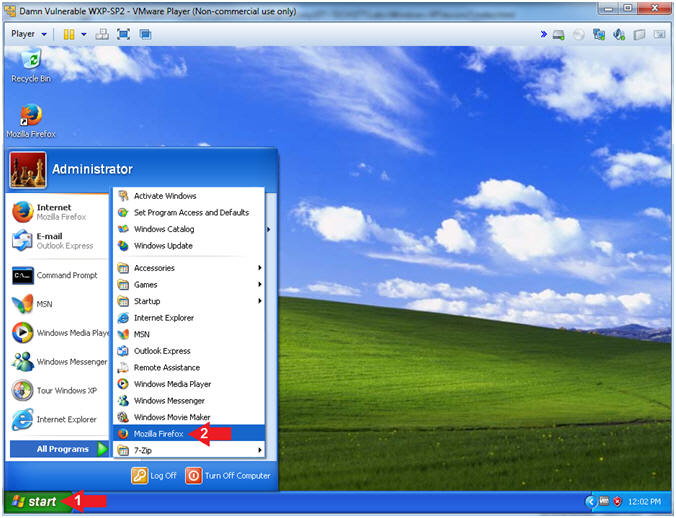
- Open Firefox
- Instructions:
- Click the Start Button
- All Programs --> Mozilla Firefox
- Instructions:
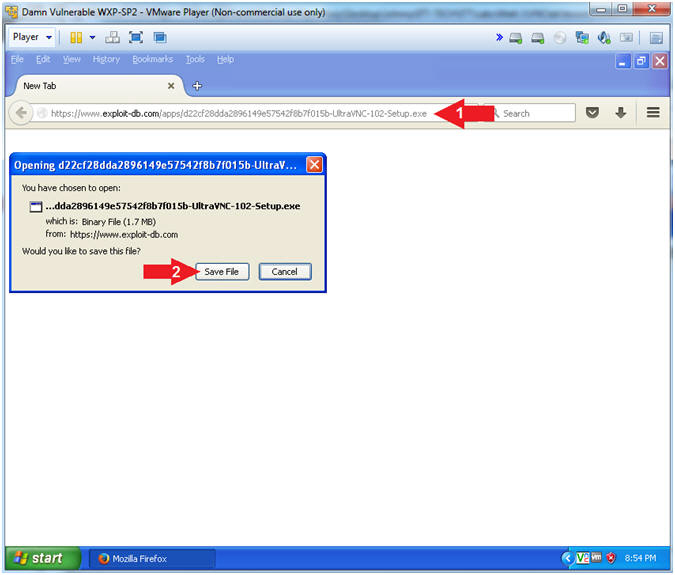
- Download UltraVNC 102 (Part 1)
- Instructions:
- Navigate to the following
URL
- https://www.exploit-db.com/apps/d22cf28dda2896149e57542f8b7f015b-UltraVNC-102-Setup.exe
- Click the Save File Radio Button
- Navigate to the following
URL
- Instructions:
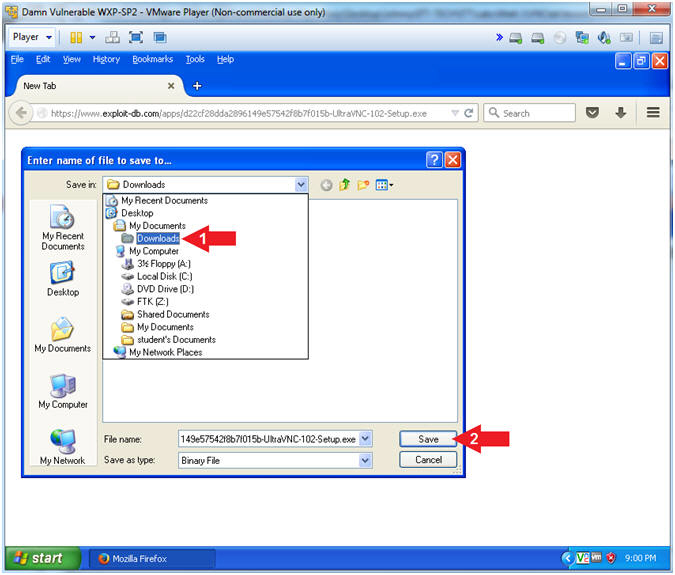
- Download UltraVNC 102 (Part 2)
- Instructions:
- Navigate to Desktop --> My Documents --> Downloads
- Click the Save Button
- Instructions:
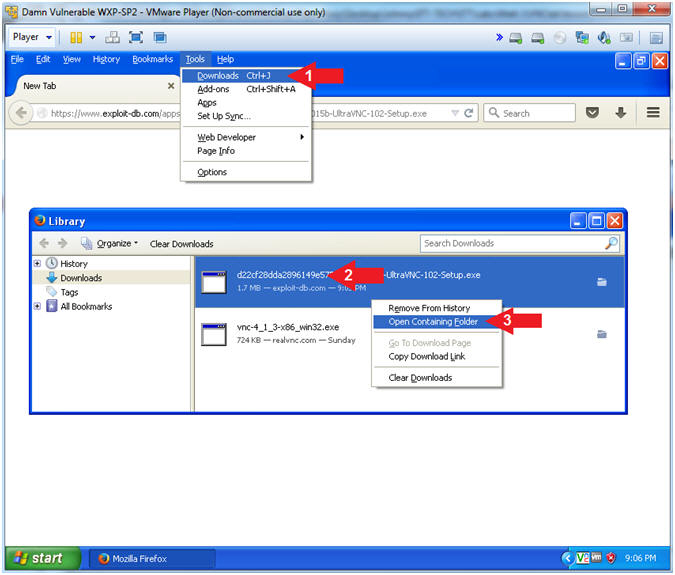
- Open Download Folder
- Instructions:
- Tools --> Downloads
- Right Click on UltraVNC-102-Setup.exe
- Click on Open Containing Folder
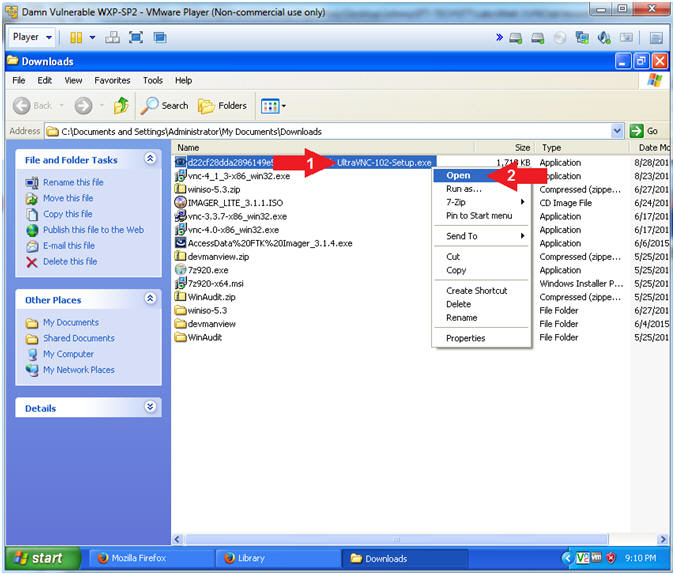
- Instructions:
- Open
UltraVNC-102-Setup.exe
- Instructions:
- Right Click on *UltraVNC-102-Setup.exe
- Click Open
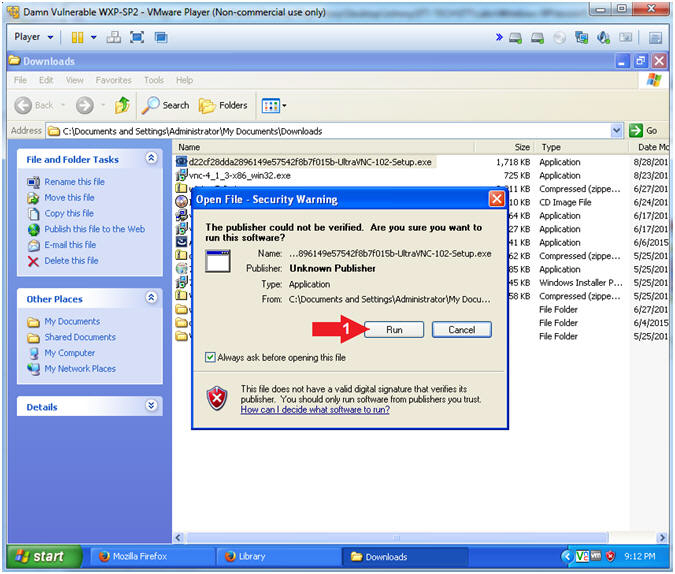
- Instructions:
- Open File - Security Warning
- Instructions:
- Click the Run Button
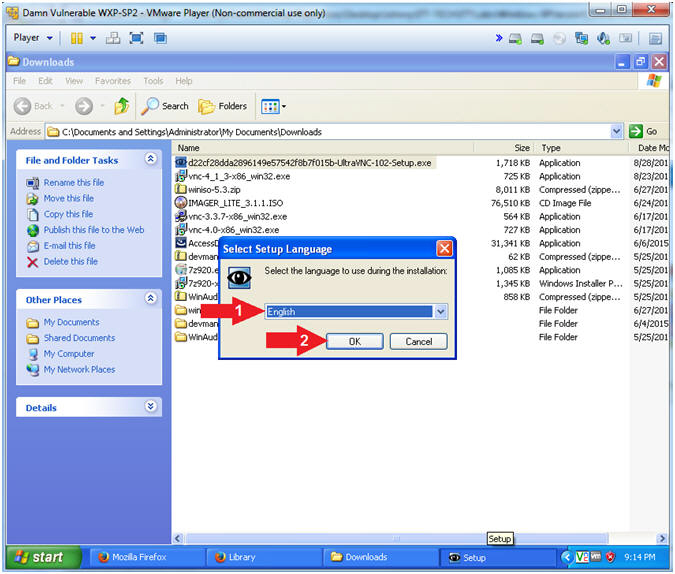
- Instructions:
- Setup Language
- Instructions:
- Select English
- Click the OK Button
- Instructions:
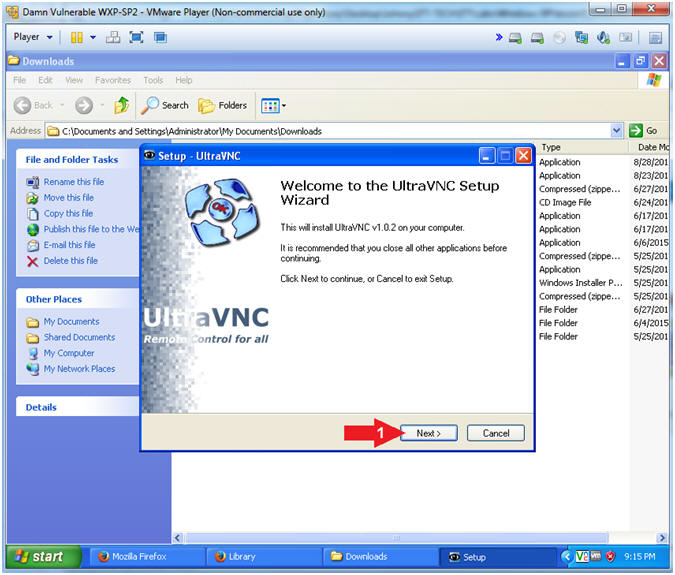
- Setup - UltraVNC
- Instructions:
- Click the Next Button
- Instructions:
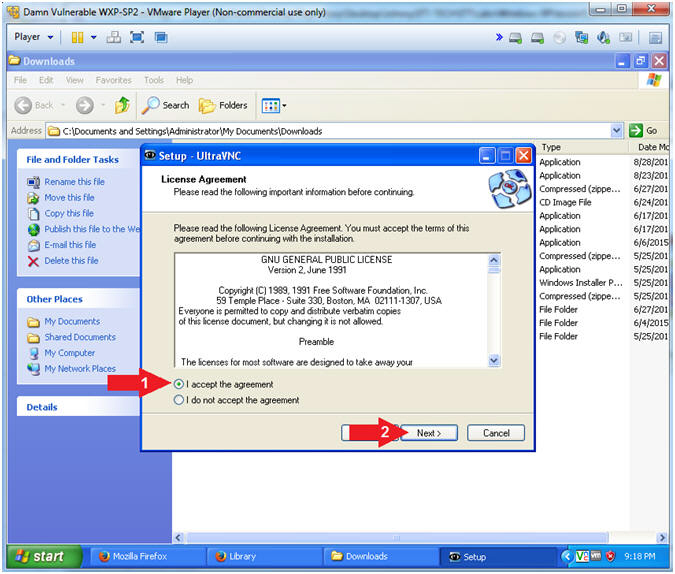
- Setup - UltraVNC (License Agreement)
- Instructions:
- Click the I accept the agreement radio button
- Click the Next Button
- Instructions:
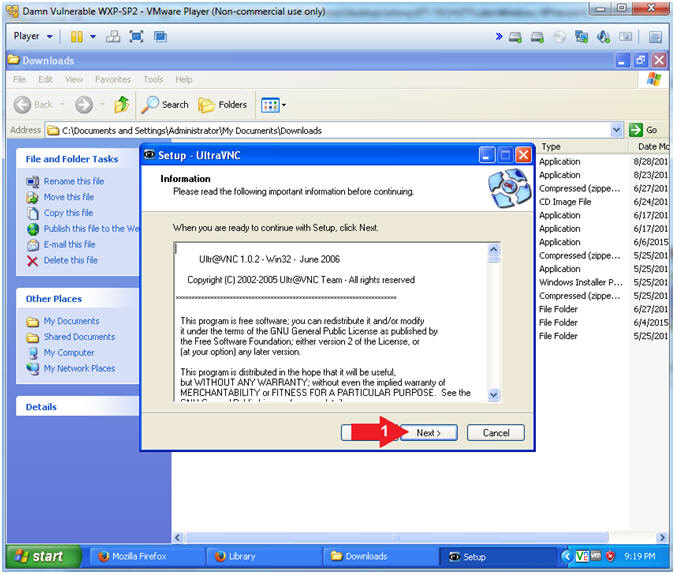
- Setup - UltraVNC (Information)
- Instructions:
- Click the Next Button
- Instructions:
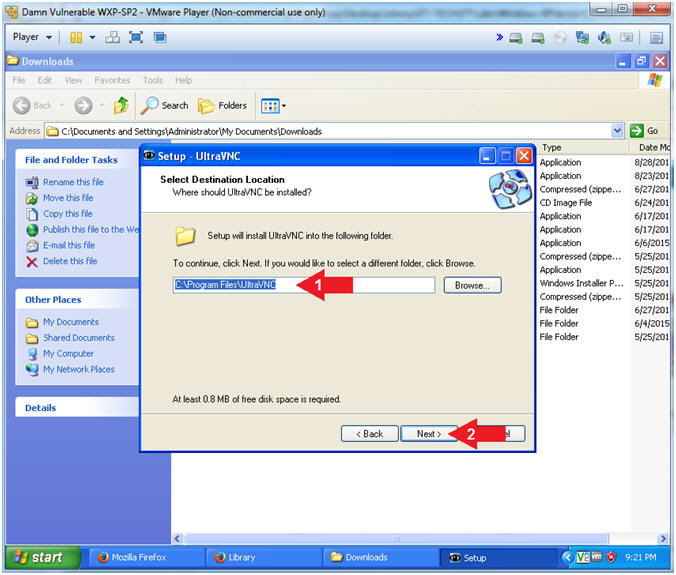
- Setup - UltraVNC (Select Destination Location)
- Instructions:
- Take the default location
- C:\Program Files\UltraVNC
- Click the Next Button
- Take the default location
- Instructions:
- Setup - UltraVNC (Select Components)
- Instructions:
- Select Full installation
- Make sure all boxes are checked
- Click the Next Button

- Instructions:
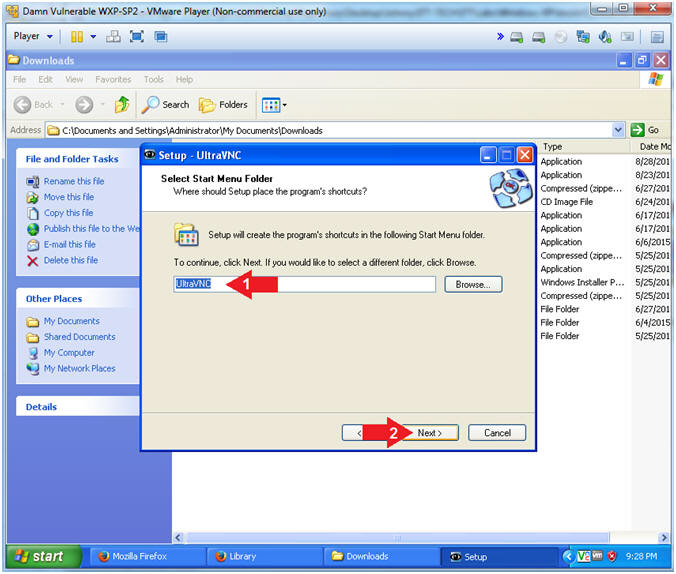
- Setup - UltraVNC (Select Start Menu Folder)
- Instructions:
- Take the Default
- UltraVNC
- Click the Next Button
- Take the Default
- Instructions:
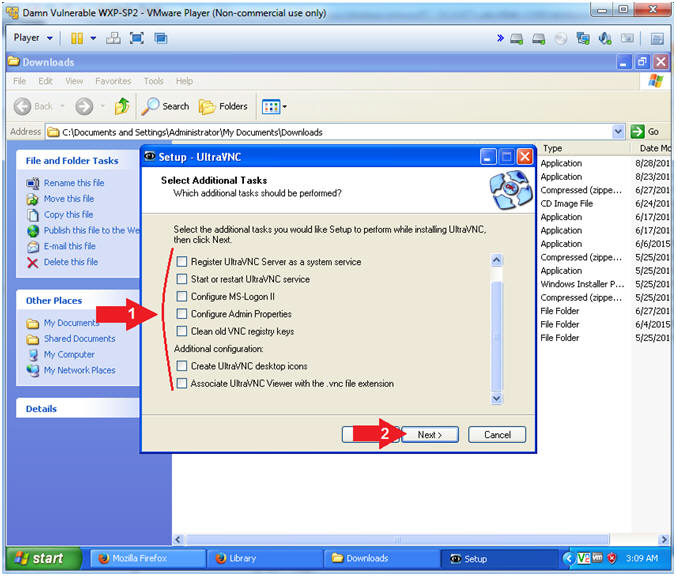
- Setup - UltraVNC (Select Additional Tasks)
- Instructions:
- Make sure all boxes are unchecked
- Click the Next Button
- Instructions:
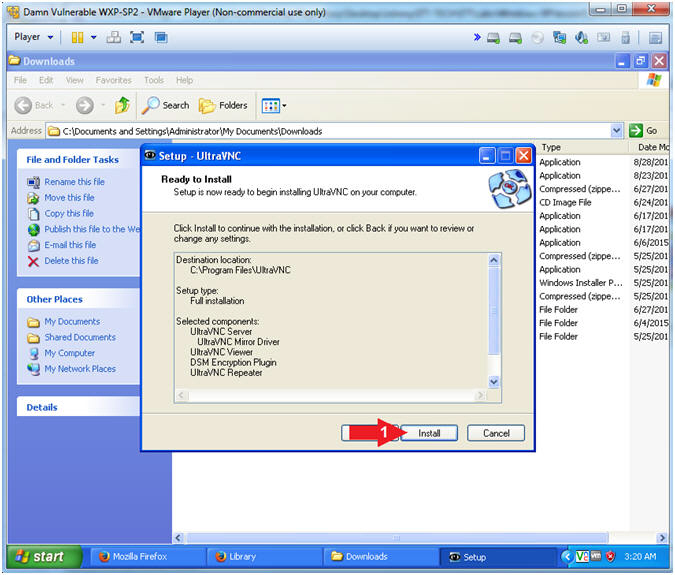
- Setup - UltraVNC (Select Additional Tasks)
- Instructions:
- Click the Install Button
- Instructions:
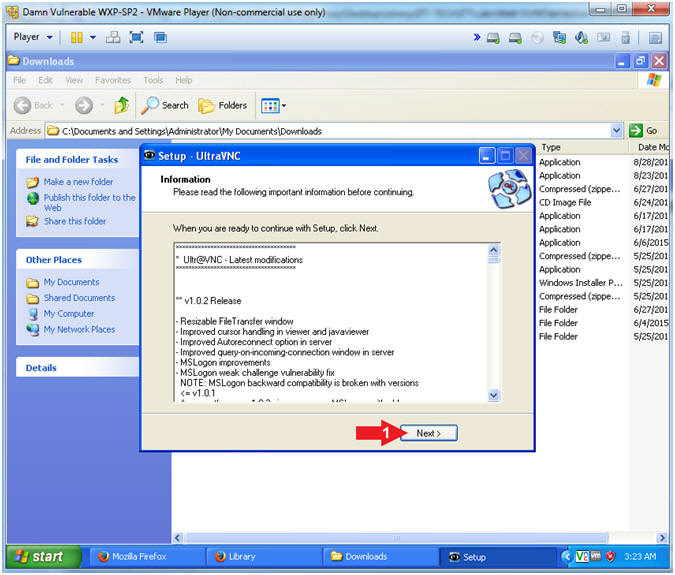
- Setup - UltraVNC (Information)
- Instructions:
- Click the Next Button
- Instructions:
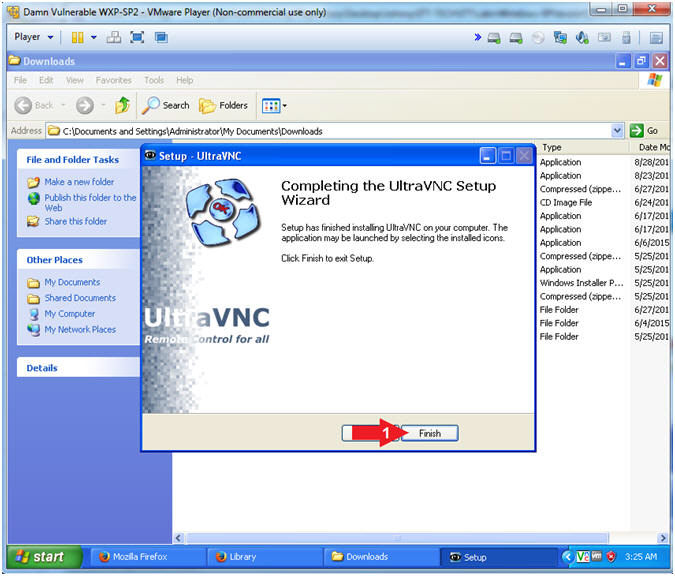
- Setup - UltraVNC (Finish)
- Instructions:
- Click the Finish Button
- Instructions:
| Section 3: Proof of Lab |
- Open the Command Prompt
- Instructions:
- Click the Start Button
- All Programs --> Accessories --> Command Prompt
- Instructions:
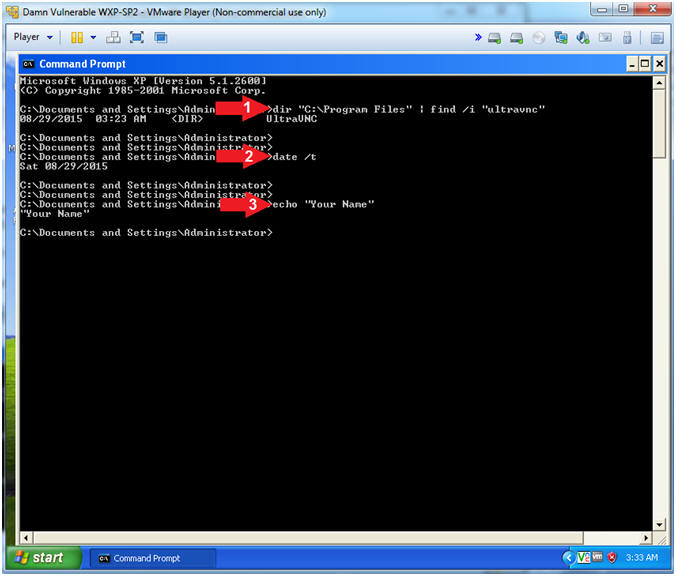
- Proof of Lab
- Instructions:
- dir "C:\Program Files" | find /i "ultravnc"
- date /t
- echo "Your Name"
- Put in your actual name in place of "Your Name"
- e.g., echo "John Gray"
-
Proof of Lab
Instructions
- Press the <Ctrl> and <Alt> key at the same time.
- Press the <PrtScn> key.
- Paste into a word document
- Upload to Moodle
- Instructions: